Quick answer
A professional furniture assembly visit generally follows the same shape regardless of what's being built: confirm the parts and instructions, clear and protect the workspace, assemble in the order that avoids having to undo steps later, check the result for stability and square corners, place and (if needed) anchor the finished piece, and clean up the packaging. Knowing this sequence ahead of time helps you prepare the space and set realistic expectations for timing, especially if you're having multiple pieces built in one visit.
Before the visit: what helps things go smoothly
You don't need to do much to prepare, but a few things make a real difference:
- Check the outside of the boxes for shipping damage when they arrive, but otherwise keep them sealed until the visit unless you've checked the parts list against what arrived — an opened-and-repacked box can lose small hardware without anyone noticing until assembly starts.
- Clear a path from where boxes are stored to where the furniture will end up, especially for large pieces like wardrobes or sectional sofas.
- Note the final location for each piece, including which wall (if any) it needs to go against — this affects assembly order for some furniture, like a wardrobe that needs to be tilted into place before the doors go on.
- Flag anything unusual, like a piece that needs to go up a narrow stairwell in parts rather than assembled, or a room that isn't fully cleared yet.
Step 1: Confirming scope and checking parts
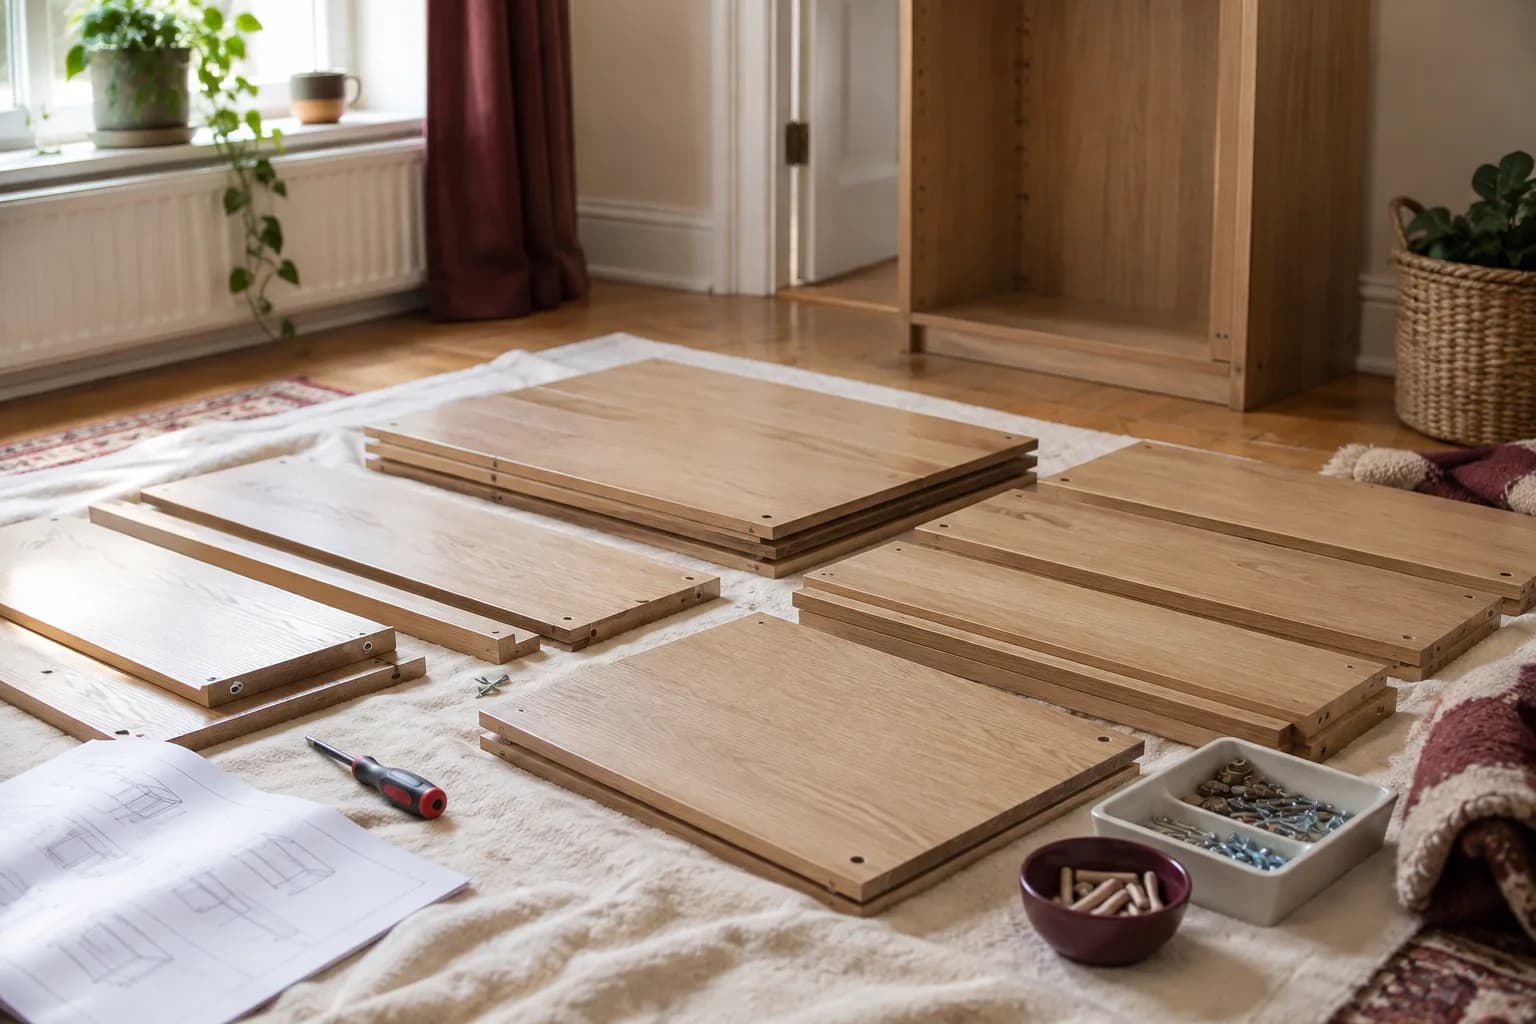
The visit typically starts with a quick review of what's being assembled and a parts check against the manufacturer's list — screws, cam locks, dowels, shelf pins, and panels all get counted before assembly starts. Catching a missing or damaged part at this stage, rather than halfway through, avoids building half a piece that then has to be partly taken apart again.
Step 2: Prepping the space
Assembly surfaces get protected (a drop cloth or the flattened boxes themselves work well), and parts get laid out in a logical order — often grouped by which sub-assembly they belong to, mirroring the instruction manual's own stages. For a piece with a lot of small hardware, sorting screws and dowels into groups before starting cuts down on the time spent hunting for the right piece mid-assembly.
Step 3: Assembly, in an order that avoids redoing work
This is the core of the visit, and the sequence matters more than it might seem:
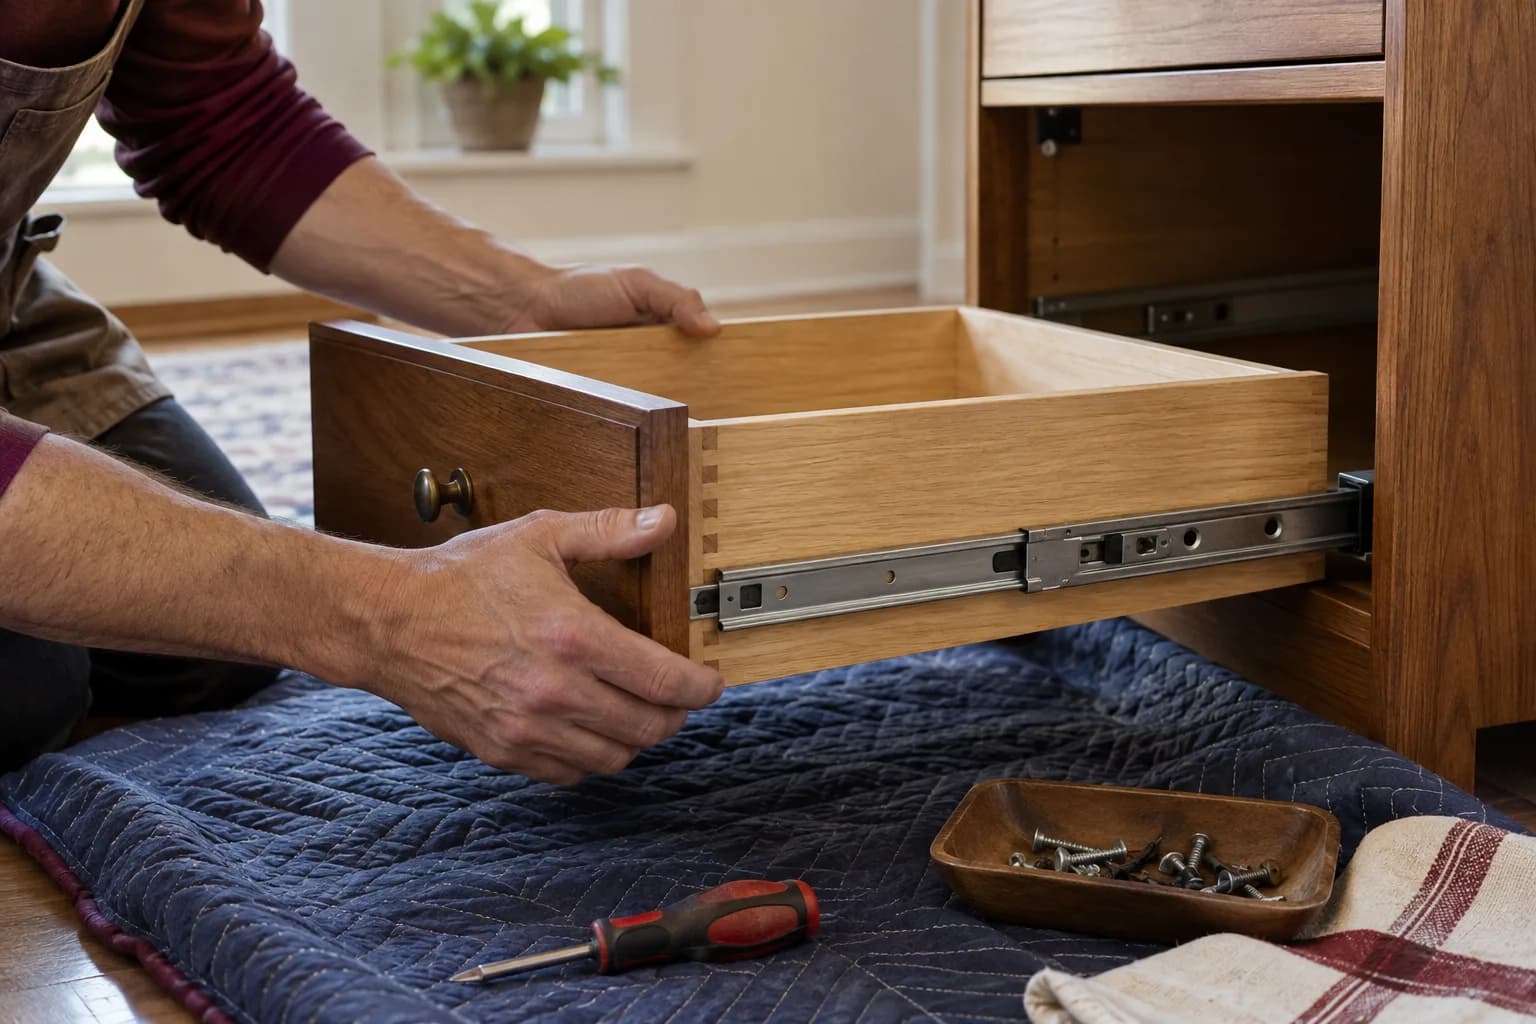
- Sub-assemblies (drawer boxes, shelf units, a chair base) generally get built before they're attached to the main frame.
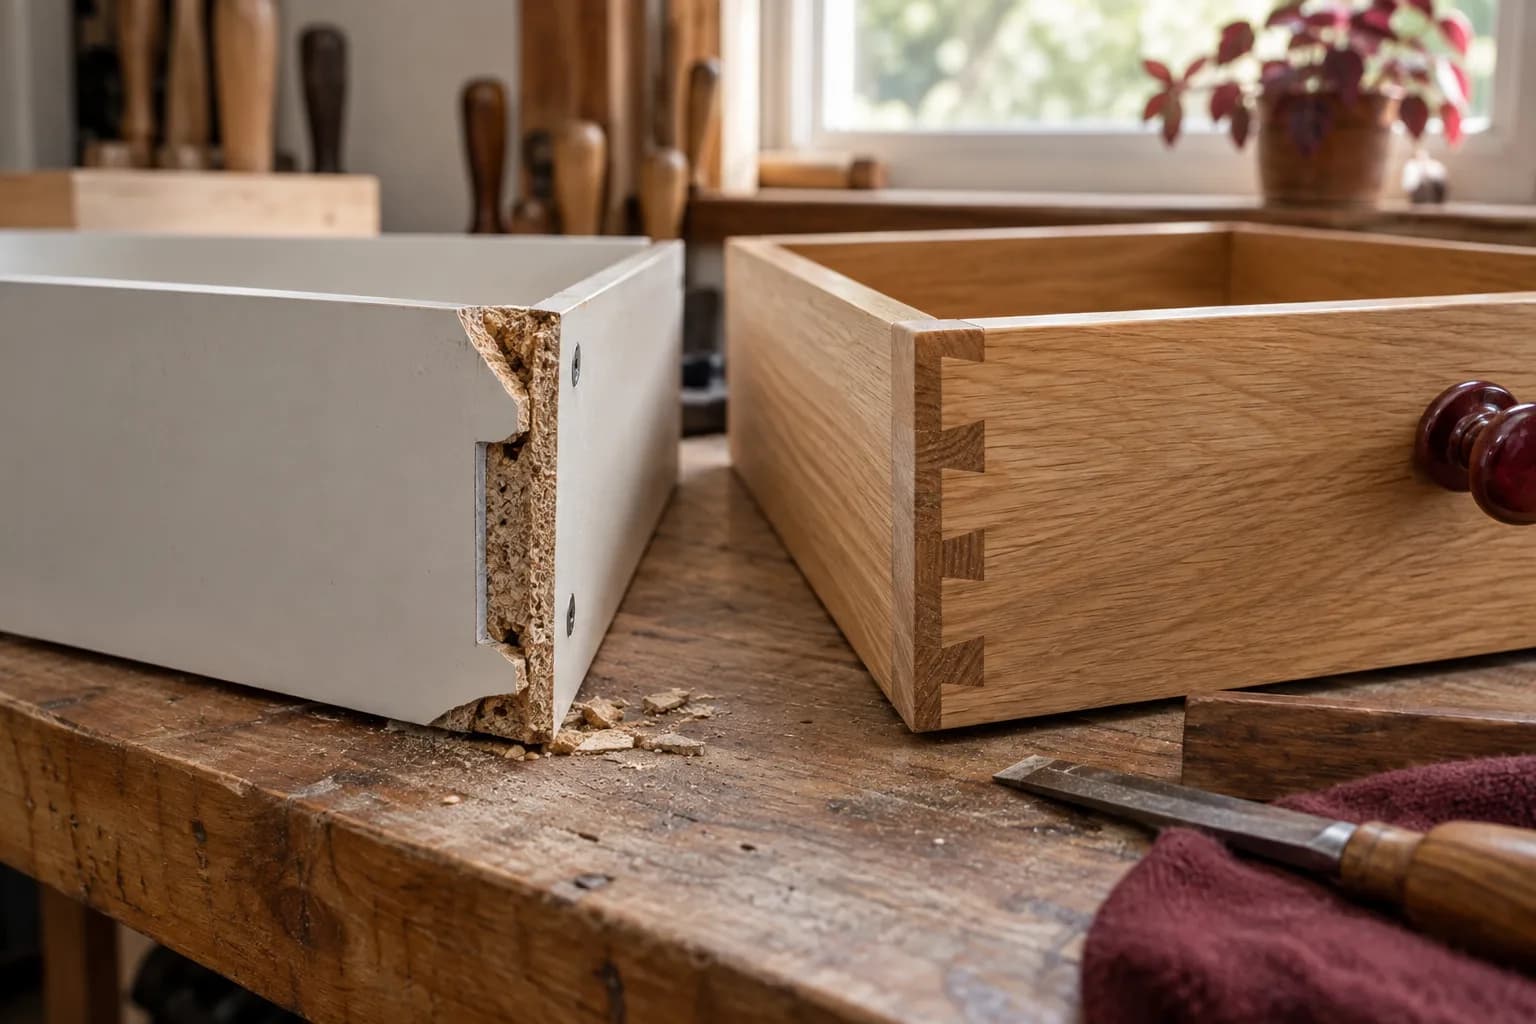
- Fasteners get seated fully but not over-tightened — a stripped hole in particleboard, or a cracked panel from over-tightening, is much easier to prevent than to fix afterward.
- Doors, drawers, and moving parts get test-fitted and adjusted (hinges, drawer slides) before the piece is considered done, not just bolted together and left.
Step 4: Checking the result
A finished piece gets checked for square corners, level feet or a level top, and a light stability test — gently rocking a dresser or bookshelf to check for wobble before calling it complete. For furniture with drawers, doors, or shelves, like a dresser or a bookcase, this is also the point to anchor it to the wall. The U.S. Consumer Product Safety Commission's Anchor It! campaign recommends anchoring that kind of furniture to prevent tip-over injuries, and it's much easier to do now than after the piece is loaded and pushed into a corner. Our tip-over anchoring guide covers the details.
Step 5: Placement and cleanup
The finished piece goes into its final spot, doors and drawers get one more function check once it's in place, and packaging gets broken down and either hauled away or left flattened for recycling, depending on what was agreed. A short walkthrough at the end — confirming everything opens, closes, and sits the way you expect — is the natural point to flag anything you'd like adjusted before the visit wraps up.
What can change the length or scope of a visit
- Missing or damaged parts from the manufacturer, which may need a replacement order rather than an on-the-spot fix
- Wall type for anchoring — locating a stud in plaster-and-lath walls, common in older homes, takes more care than in standard drywall
- Extra items discovered on-site that weren't part of the original scope — always worth confirming before adding to the job rather than assuming
- Assembly complexity you didn't anticipate from photos alone, like a sit-stand desk with a motor and wiring versus a simple bookshelf
What a visit checklist looks like
- Boxes present and unopened (or parts pre-checked against the manifest)
- Clear path to the assembly area and final location
- Final placement decided, including which wall (if relevant)
- Anchoring planned for dressers, bookcases, and other pieces with drawers, doors, or shelves (and your wall type noted)
- A few minutes set aside at the end for a walkthrough
How pricing typically works for this kind of visit
Furniture assembly is usually quoted either per item or by the hour, depending on the scope. Whichever way it's structured, you should know the full price for the job or the full hourly rate before the work starts — not have charges added afterward for things like hardware, disposal of packaging, or time spent on a piece that turned out more complex than expected. That's worth confirming with whoever you hire, before the visit, not during it.
Define a finished result before the boxes are opened
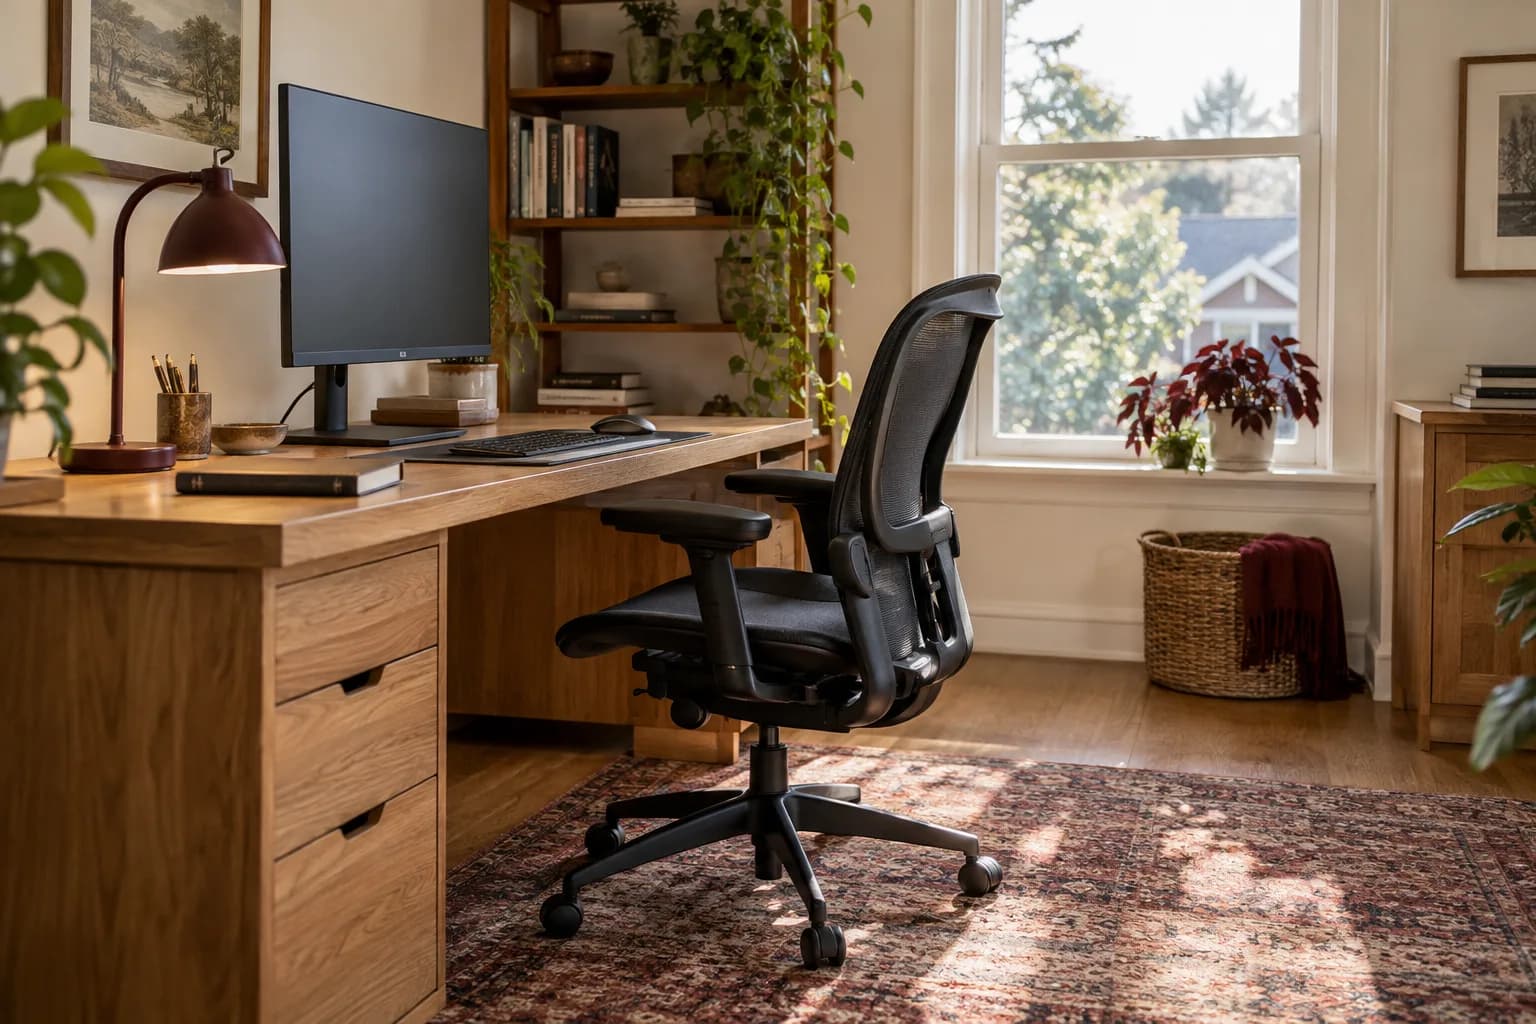
For a desk, completion might mean a square frame, smoothly moving drawers, a stable work surface, and the piece positioned for normal use. For a storage unit, it also includes the manufacturer-required anti-tip arrangement. Agree on those outcomes, along with what happens to cardboard and spare hardware. A photo of assembled furniture is not a substitute for checking how it works.
List accessories separately. Drawer dividers, cable trays, monitor arms, doors sold in a second package, and lighting kits can add meaningful work even when they belong to the same product family. Send all model numbers before the visit. If an accessory requires power or another specialist trade, identify that boundary before booking it as routine assembly.
Make sure the boxes have been delivered to the assembly room. Transportation of furniture and heavy lifting are separate services, not an automatic part of assembly. A completed wardrobe may be harder to move through the home than the boxed parts, so choose the final location before work starts.
Know the right response to a missing or damaged part
Suppose a bookcase arrives with a cracked side panel and a missing connector. The useful response is to document both issues, check the parts list, and contact the supplier for the correct replacements. It is not to hide the crack at the back or substitute a screw that happens to fit the visible hole. The consequences depend on the part's role in the structure.
Some work can continue while a replacement arrives; other steps should stop because completing them would make rework difficult or unsafe. Agree on what can be left assembled, where the remaining parts will be stored, and whether a return visit needs a separate booking. Keep the packaging and labels until the supplier has confirmed what it needs for the claim.
If the manufacturer provides a revised instruction sheet, use the sheet for that exact version. Similar-looking products can change hardware between production runs. Marking the completed steps and labeling unused fasteners keeps a paused assembly understandable for the next visit.
Make the handover practical
Try the piece as you will use it: open each drawer, test the door travel, adjust the shelf positions, and check the working clearance around it. Do not add a load that exceeds the maker's instructions just to demonstrate strength. Ask which fasteners need a future check and which adjustments are normal as the furniture settles into use.
Save the manual, product label, spare parts, and a note of any exclusions in one place. This is particularly useful for furniture that may be disassembled later. If an issue remains, record the specific item and next action rather than marking the whole visit vaguely unfinished.
FAQ
Do I need to be home during the whole visit? It's worth being reachable in case a question comes up about placement or an unexpected issue with parts, but you don't need to watch the entire process.
What if a part is missing from the box? A professional assembler will typically catch this during the initial parts check rather than partway through, and can advise on contacting the manufacturer or retailer for a replacement part rather than guessing with a substitute.
Will the team take the packaging away? Ask when you request the estimate. Whether boxes are hauled away or broken down and left for your recycling should be spelled out in the quote, so it isn't a surprise on the day.
Can multiple pieces be assembled in one visit? Yes, this is common, especially for a move-in with several rooms of flat-pack furniture. Confirm the full list of items in advance so the visit is quoted and scheduled accurately.
Ready to clear the boxes?
If you've got a room full of boxes and would rather hand off the build, request an estimate with a list of the pieces and where they're going. Browse what we cover on our furniture services page.