Quick answer
You can't know exactly how hard a flat-pack piece will be until the box is open, but you can get a good read beforehand. Check the number of parts and drawers, look at how the joints are made, preview the manual if it's available, scan the review text for words like "missing," "stripped," and "hours," and be honest about your tools, space, and time. A few minutes of research before buying saves far more time than it costs.
Why some flat-pack furniture is harder than others
Flat-pack furniture ranges from a simple shelf you can finish before your coffee gets cold to a large wardrobe with a long hardware list and many small, similar-looking fasteners. The difference comes down to a handful of design choices: how many separate pieces the design was broken into, what kind of joints connect them, how much tolerance the pre-drilled holes allow, and how clear the instructions are.
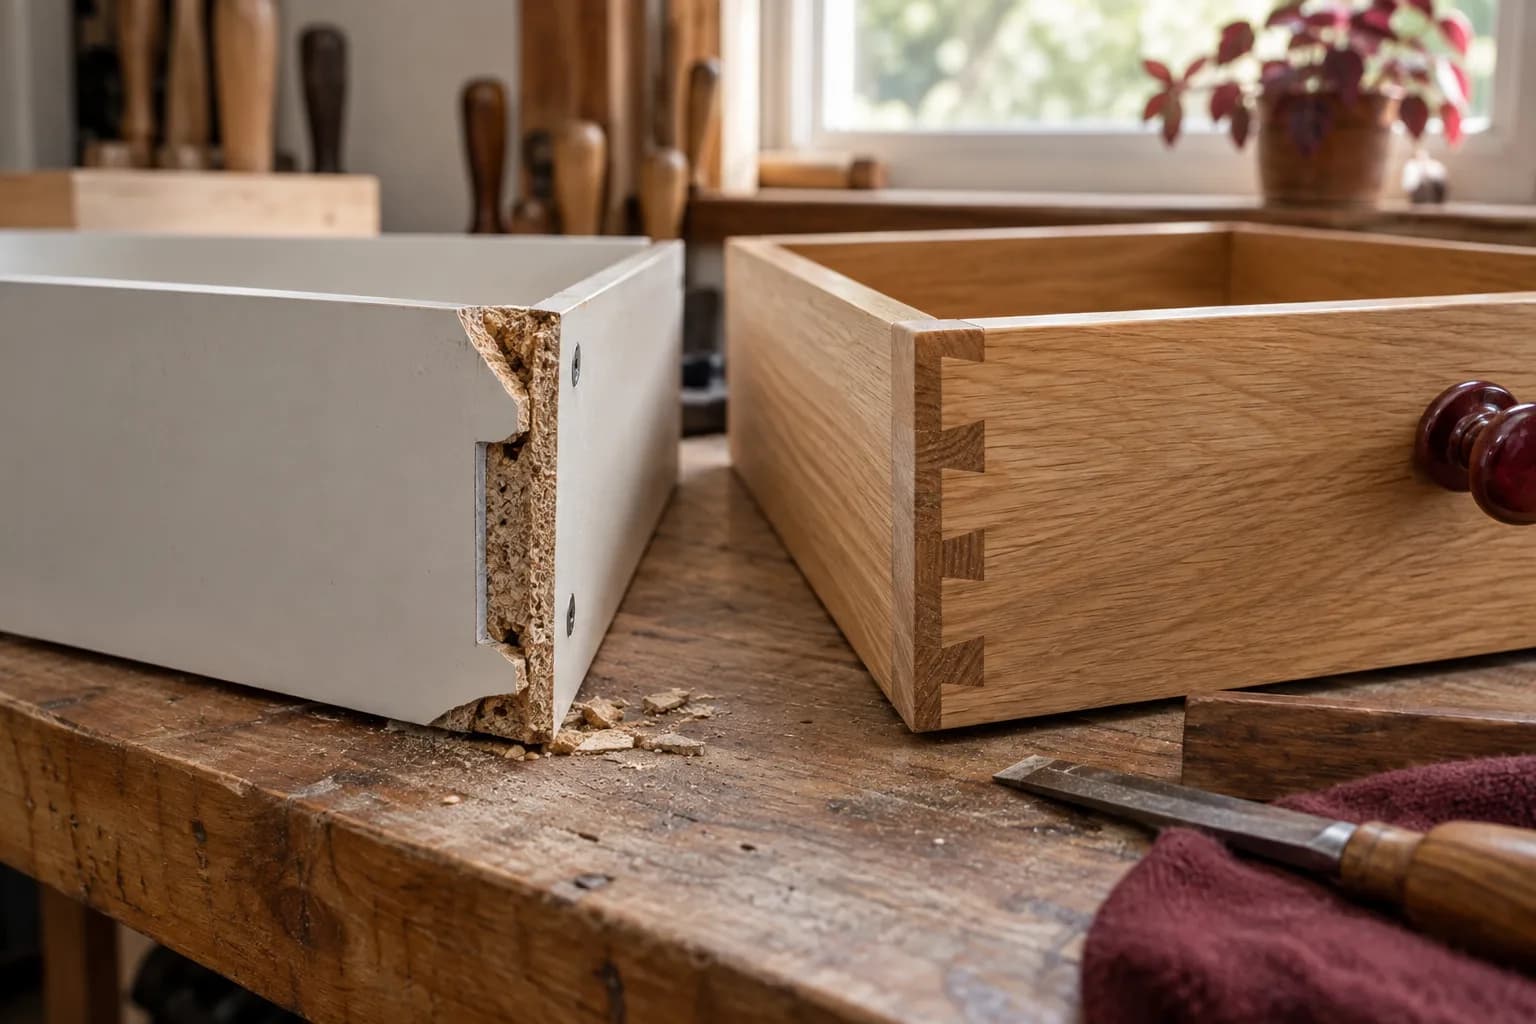
It also helps to know what most of these pieces are made of. The USDA Forest Products Laboratory's Wood Handbook calls particleboard the predominant material used in ready-to-assemble furniture, and notes it is generally not as strong as fiberboard. Particleboard holds a screw well enough the first time, but it doesn't forgive a crooked or overtightened one. That single fact explains many of the red flags below.
What to check before you buy
1. Part count, not just size
Listings usually give dimensions, but the number of components is a better predictor of assembly time. A tall but simple bookshelf — a few big panels, a back, and shelf supports — can go together quickly. A smaller dresser with many drawers, drawer fronts, and trim pieces takes much longer, piece for piece.
2. The joint hardware
Look closely at any assembly photos or diagrams in the listing:
- Cam locks with dowels. Very common in flat-pack. A round cam fitting in one panel grabs a metal bolt set in the other and pulls the joint tight. They go together reasonably fast when every hole lines up, but they work best when assembled once, carefully. A cam that's overtightened or a dowel that goes in crooked can be hard to correct.
- Large one-piece connector screws driven straight into particleboard. Strong when driven straight, but unforgiving of a wrong angle or too much drill torque. Strip one of these holes and that joint stays weaker.
- Metal brackets and machine bolts into metal inserts. Common in bed frames and larger pieces. The parts are heavier to handle, but metal threads tolerate being tightened and adjusted better than a screw into particleboard.
- Wood joinery with bolts (such as mortise-and-tenon joints held by hardware) shows up on higher-end "assembly required" pieces. Usually sturdy, but parts can be heavy and awkward for one person.
3. Drawers and doors
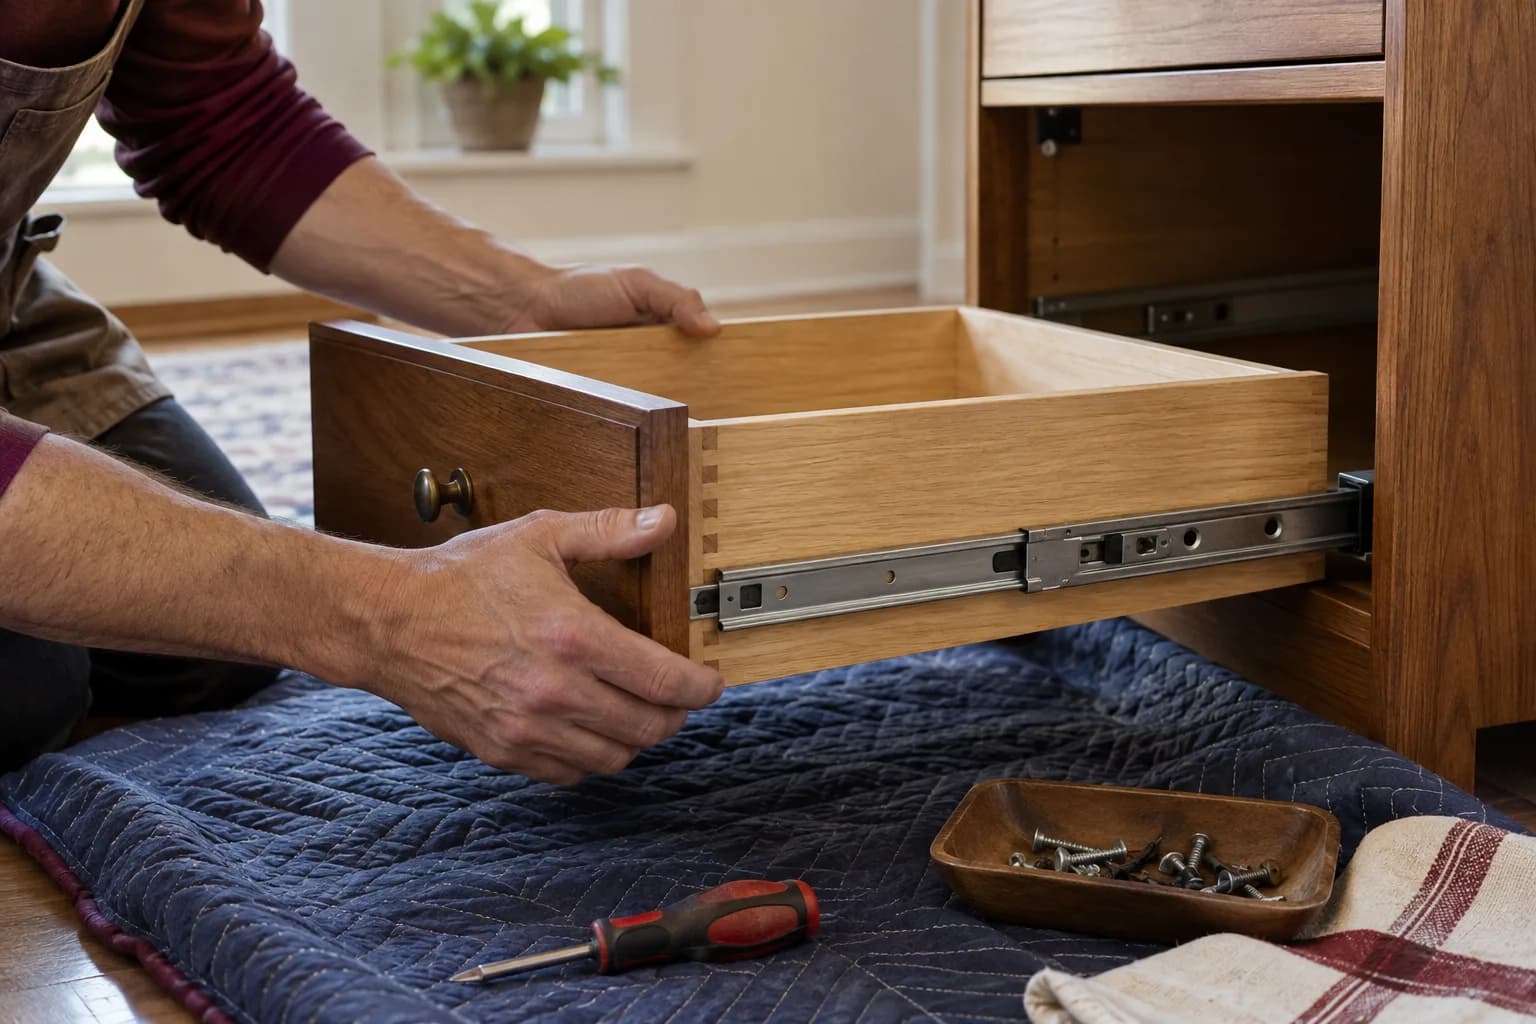
Every drawer and door adds real time. Each one typically needs its own slides or hinges installed, then adjusted so it runs smoothly and closes square. A dresser with many drawers is a longer job than a single-door cabinet of similar overall size.
4. The instructions
Picture-only instructions work fine for simple pieces but become a liability on complex ones, especially when several parts look almost identical. Mirrored left and right panels are a classic source of mistakes. If the seller offers a downloadable manual, skim it before buying. Clear numbered steps, part labels, and hardware counts for each step are a good sign regardless of complexity.
5. What reviews actually say
Star ratings tell you little about assembly. Read the review text, and if the site lets you search within reviews, look for:
- "Missing" or "wrong parts" — a sign of inconsistent packing
- "Stripped," "cracked," or "split" — a sign the holes or hardware leave little room for error
- "Hours" or "two people" — a sign the real job is bigger than the listing suggests
- "Instructions unclear" or "had to redo" — a direct warning about the manual
One or two complaints are normal for any popular product. A pattern of the same complaint is the signal.
6. Your own tools, space, and time
The same piece can be an easy project for one household and a frustrating one for another, depending on:
- Whether you have a drill/driver with an adjustable clutch (set low for particleboard), not just the small hex key in the box
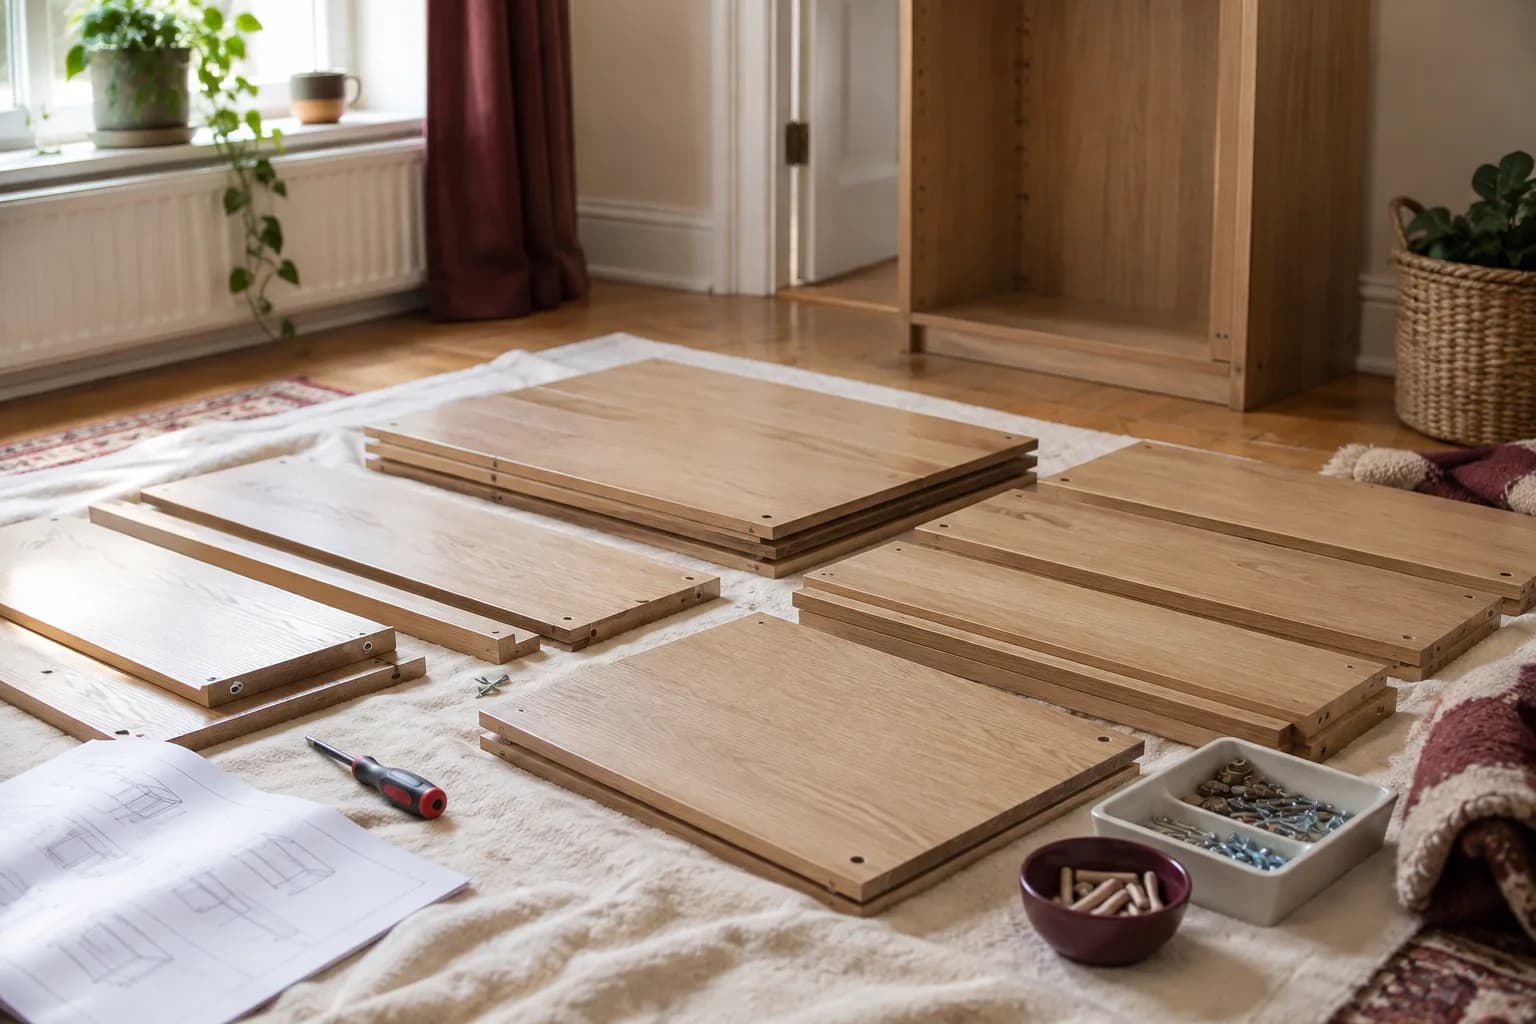
- Whether you have a clear, flat, well-lit space to lay out every part — ideally on a rug or the flattened box to protect finishes
- Whether you have a second person for heavy panels or steps that need two hands, like standing up a tall wardrobe
- Whether you have an uninterrupted block of time; stopping and restarting a complex build is when parts get misplaced
- Whether you can get the box to the room at all. Flat-pack boxes are heavy and long, and the narrow, turning stairs in many older Pittsburgh houses can be the hardest part of the job
A pre-purchase checklist
- Rough count of separate parts, drawers, and doors
- Type of joint hardware (cam locks, screws into particleboard, bolts into metal inserts, wood joinery)
- A manual you can preview before buying
- Review text scanned for "missing," "stripped," "hours," and "unclear"
- A clear path for the box from the door to the room
- An honest read on your tools, space, helpers, and available time
During assembly: habits that prevent most problems
- Unpack and count the hardware before you start, and sort it by type.
- Identify mirrored parts and mark them with painter's tape (left/right, top/bottom).
- Where the instructions allow, leave fasteners slightly loose until the frame is assembled and square, then tighten them.
- Drive screws into particleboard by hand for the last turn, or with the drill clutch set low.
- Attach the back panel as the instructions describe — on many cabinets it's what keeps the box square.
Unbox in the order the instructions need
Choose an area where large panels can be laid out without blocking an exit or becoming a trip hazard. Protect the furniture finish and the floor as the manufacturer recommends. Find the parts diagram before removing every label or discarding packaging. Compare panel numbers, hardware bags, and any supplied tools with the inventory, then identify the first assembly steps.
Keep similar-looking connectors separate until you can match them to the diagram. Two screws with different lengths may fit the same tool while serving very different purposes. Trial-and-error fastening can damage a finished face before you realize the wrong screw was selected. Do not substitute leftover hardware from another piece merely because it fits a hole.
Inspect concealed surfaces too. A cracked edge near a connector or a damaged groove for the back panel can affect the assembly even if it will not be visible later. Photograph the part number and defect together. That makes a replacement request more useful than a close-up of damage without identifying information.
Know when to pause instead of improvising
If the parts inventory is incomplete, read ahead before deciding whether work can continue. A missing decorative cap and a missing structural connector have very different consequences. Do not stand or load a partly assembled cabinet when the required bracing or fastening is unfinished. If the instructions require two people for a stage, plan for that assistance rather than balancing an unstable section alone.
When holes do not appear to align, check orientation and step order before drilling new ones. A panel installed backward can create several apparent defects later. Loosen and revisit only as the instructions allow; repeatedly forcing a connector into a damaged hole makes the problem harder to correct. Ask the manufacturer about a genuine mismatch and keep the return option intact.
A hypothetical dresser with doors that do not align may need a squareness check before hinge adjustment. Spending an hour adjusting hinges cannot compensate for an incorrectly seated back or a twisted cabinet body. The useful sequence is to verify the base assembly, then make the intended final adjustments.
Prioritize a multi-item delivery by usable space
When furnishing a room, the largest item is not automatically the best first project. Think about where unpacked panels will sit and which completed item will block the work area. A bed frame, desk, and tall cabinet delivered together may need a deliberate assembly order so parts are not mixed and access remains clear.
List which items are essential that day and which can remain boxed if a missing part causes a delay. Share that priority with anyone helping. Keep hardware and instructions with each individual item, including unused manufacturer-supplied pieces whose purpose is documented. A clean handoff should identify any unfinished adjustment or required anchoring instead of leaving an apparently complete piece ready to be loaded accidentally.
Before packaging leaves, test drawers, doors, levelers, and other intended functions. Save the model label and manual. They turn a later adjustment or spare-part request into an identifiable job rather than a search for “the white cabinet from last fall.”
FAQ
Are more expensive flat-pack pieces always easier to assemble? Not always. Price is a rough signal, not a promise. Better pieces often have clearer instructions and more forgiving hardware, but check the specifics above regardless of price.
Does a longer manual mean a harder build? Loosely. More pages usually means more steps, but a clear long manual can be faster to follow than a short, confusing one. Skim for clarity, not length.
Is it normal for flat-pack furniture to take longer than expected? Yes, especially on a first attempt. Any time estimate can't account for your space, tools, interruptions, or a step you need to undo. Plan generous extra time for anything with drawers or doors.
What should I do if a joint doesn't fit right partway through? Stop before forcing anything and recheck the last few steps. A panel installed backward or a skipped step is a more common cause than a defective part. If a part really is damaged or missing, contact the manufacturer or seller and check their replacement-parts policy.
Skip the guesswork
If you'd rather not gamble your weekend on a complicated build — especially one with lots of drawers, doors, or particleboard joints — request an estimate with a photo of the listing or the box, and you'll see the full price before we start. Learn more on our furniture services page.