Quick answer
A secure installation depends on the complete system: the object's attachment points, mounting hardware, fasteners, wall construction, and intended load. Check the manufacturer's instructions for those exact conditions. Framing or suitable masonry may be required; some purpose-designed systems allow particular hollow-wall installations. Do not infer suitability from a package weight number alone. Shelves also need assessment for the contents and their position, not only the shelf's empty weight.
Why things fall off walls
When a shelf comes down or a mirror slips, the cause is usually one of three things: the anchor was rated for less weight than what was hung, the anchor went into wallboard with nothing solid behind it, or the item's weight wasn't distributed the way the hardware assumed (a heavy mirror on a single center hook, for example, concentrates all the force in one small spot). Good installation solves all three: find real backing, match the hardware to the item, and spread the load across more than one point when the item is heavy or top-hung.
Finding real backing
Wood-framed walls have vertical studs behind the drywall or plaster, usually at a regular spacing, so once you find one, measure over and confirm the next. A detector can help locate framing, but it does not prove that a drilling path is clear of wiring or pipes. Plaster, lath, and other wall assemblies may require a different assessment before any exploratory hole is made (see our wall-material guide). In masonry walls, there's no stud to find — the wall itself is the backing, and it takes masonry-rated anchors and different tools instead.
For a substantial object, confirm the mounting system's required substrate and installation conditions before selecting a position. A hollow-wall rating applies only to its specified material, thickness, fastener, and load arrangement. It should not be transferred to an unknown wall or a projecting shelf by guesswork. If a suitable attachment method cannot be established, change the plan or obtain a qualified assessment rather than trying progressively larger anchors.
Floating shelves: the bracket does the real work
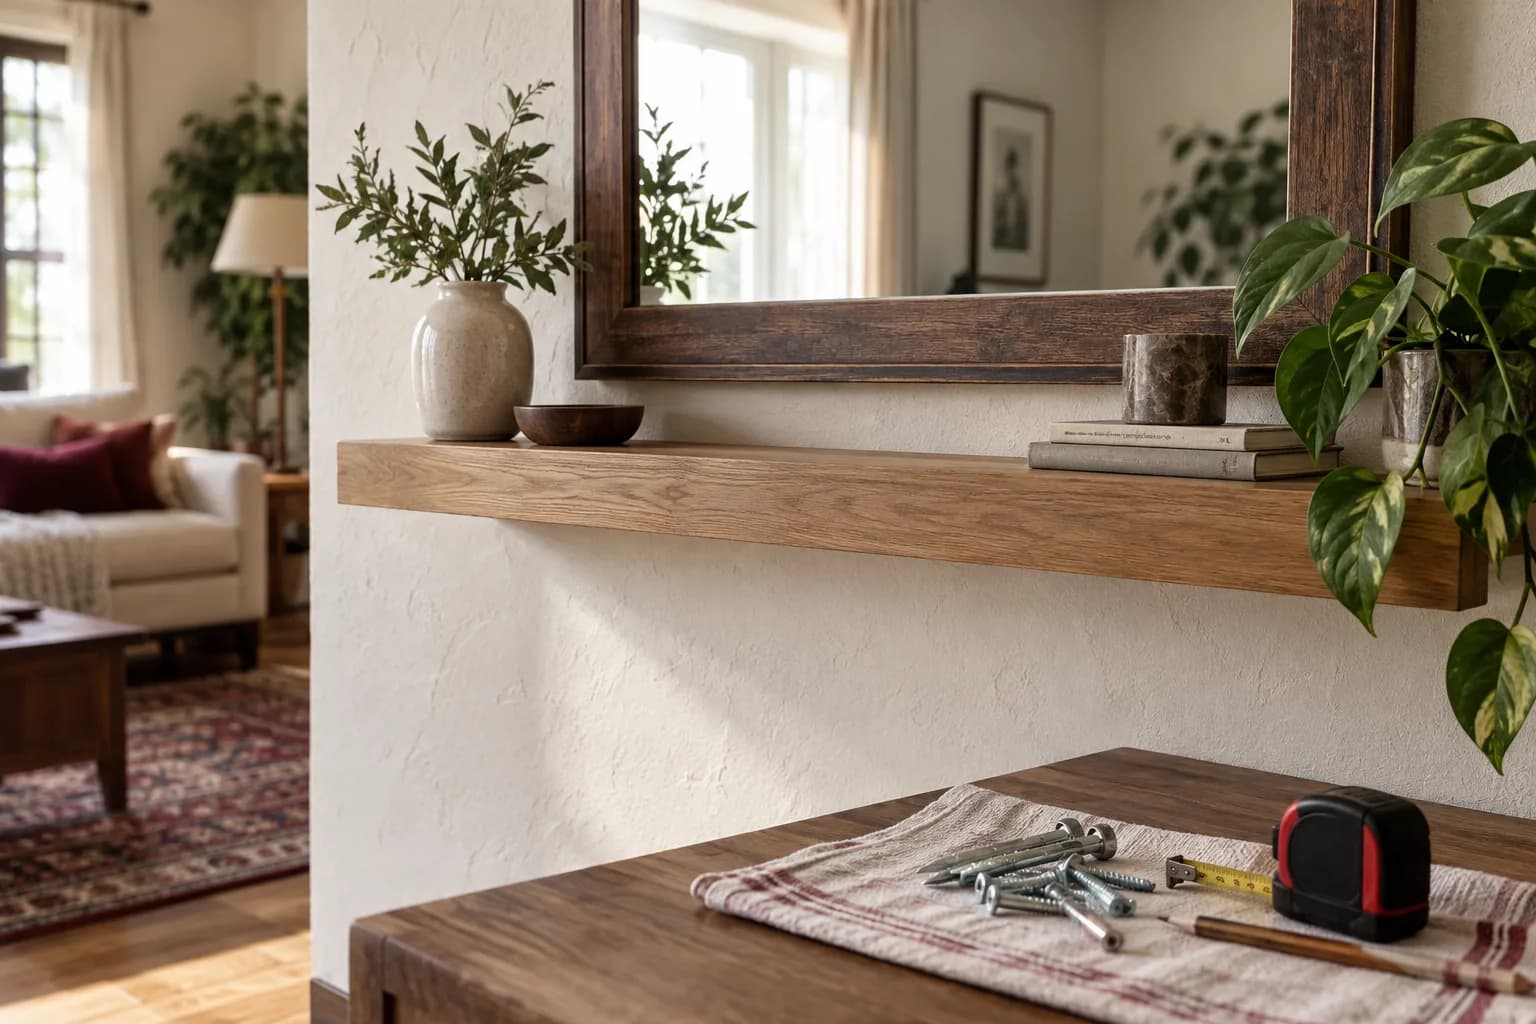
A "floating" shelf isn't actually floating — it's sitting on a concealed metal bracket or rod system that's bolted into the wall, with the shelf itself slid over it to hide the hardware. The shelf's real weight capacity is set almost entirely by:
- How many of the bracket's mounting points land on studs (or solid masonry) versus wallboard alone.
- The bracket's documented design, supported shelf dimensions, fastening requirements, and intended load arrangement.
- How the load is placed on top: books stacked evenly across the shelf load it very differently than one heavy object at the unsupported front edge, which puts more leverage on the bracket than the same weight spread evenly.
If a shelf run doesn't line up with stud spacing, a bracket rated for the wall thickness and matched to the intended load is the alternative — but that's a decision to make deliberately, not to guess at.
Mirrors: weight and edges both matter
Mirrors add two complications beyond ordinary weight: they're often top-heavy relative to their mounting point, and a failure isn't just a dent in the floor — it's broken glass. Common hardware options:
- J-channels or mirror clips along the bottom and top edges, which spread the weight across several points instead of one. This is the usual approach for frameless mirrors, which have no frame to put hanging hardware on.
- D-rings and wire, common on framed mirrors and art. They work well for lighter pieces, but they concentrate the load wherever the wire hangs, so that point needs to be solid. Using two hooks spaced apart instead of one also keeps a frame from tilting.
- Security hardware (a bracket that locks the bottom of the mirror to the wall) is worth adding on top of any of the above for large mirrors, especially in homes with kids, where the manufacturer specifies compatible retention hardware. It does not compensate for an inadequate primary attachment.
Heavy or oversized art: spread the load
For large framed pieces, spreading the mounting points wider apart (rather than relying on one central hook or a narrow wire loop) reduces the leverage any single point has to fight. A cleat system — a matching pair of interlocking strips, one on the wall and one on the frame — spreads weight along the full width of the piece and can be a suitable option when both the object and wall support that system. It is not automatically appropriate for every heavy object.
Before you drill: small details that matter
- Read the item's own instructions. Shelf brackets and mirror hardware often list the fasteners and wall types they're designed for.
- Assess hidden services before drilling. Visible switches and fixtures are clues, not a complete map of concealed wiring and pipes. Do not assume an unmarked part of the wall is clear.
- Level twice. Mark with a level, then re-check after the first fastener is in, before the rest go in.
- Plan the load. Decide what a shelf will actually hold before choosing the bracket, not after it's full of books.
A practical checklist before hanging anything heavy
- Identify what's behind the wall (drywall over studs, plaster over lath, or masonry).
- Find real backing (studs or masonry) for anything heavier than light decor.
- Match the hardware — cleat, bracket, or clips — to the item's weight and shape, not just what came in the box.
- Spread mounting points wider for top-heavy or oversized items instead of relying on one point.
- Add security hardware for large mirrors, especially with kids or pets in the house.
Write a hanging brief that includes the load in use
A useful request describes more than the object's outside dimensions. Include its actual weight if documented, the shape and location of the supplied mounting points, and photos of both front and back. For a shelf, describe what will sit on it. The empty shelf is only part of the load, and a few heavy objects concentrated at one end can create a different situation from light decorations spread along it.
Share the exact bracket or hanging-system model and its instructions. A hardware rating only helps when the installation matches the conditions that rating covers. Do not add together package ratings to invent a total capacity, and do not assume that a bracket suitable for one wall material is appropriate for another. Unknown wall construction is a reason to assess, not to choose a larger-looking anchor by intuition.
For a mirror, note whether the manufacturer requires a particular orientation and mounting system. Decorative frames and backing panels are not automatically structural attachment points. A heavy object without clear hanging provisions may need an appropriate system identified before an installation can be priced confidently.
Mock up position without committing to holes
Use paper or a lightweight outline to compare placement from the places you normally stand or sit. Include the object's full projection from the wall, not just the rectangle of its front face. Check doors, cabinet openings, switches, curtains, and head clearance near seating or stairs. A shelf that looks centered can still interrupt a useful movement path.
Think about how the piece will be used and cleaned. Can you reach it safely? Will a mirror reflect a bright lamp directly into the usual viewing position? Can the shelf's intended objects be placed without reaching over something fragile? These are layout questions that can be resolved before a wall is marked.
The mockup is a preference tool, not proof that the exact position is structurally suitable. Once the wall and fastening system are assessed, the final layout may need to move. Agree on which matters most: precise centering, a particular height, or the existing furniture arrangement. That gives the installer useful options instead of pressure to conceal a poor attachment choice.
Define the stopping conditions
Pause if the wall shows unresolved deterioration, the supplied hardware is incomplete, the object is damaged at its mounting points, or the fastening method cannot be confirmed. Do not use a test pull as a substitute for understanding what the fastener is attached to. Hidden services and uncertain backing deserve proper assessment before drilling.
At completion, keep the product instructions and record any limits on intended use. Ask how the object can be removed for repainting and whether any concealed brackets must be released in a particular way. A future change of use matters: a display shelf loaded with books is a different proposal from the light arrangement originally discussed. Reassess before making that change rather than assuming a successful first installation has unlimited capacity.
FAQ
Can I hang a heavy mirror without hitting a stud? Only with anchors specifically rated for the wall thickness and the mirror's weight, and even then it's a less secure option than landing on a stud. For anything large or heavy, we'd rather find the stud or add backing than rely on an anchor alone.
Do floating shelves really hold as much weight as they look like they can? It depends entirely on the bracket and how many mounting points hit real backing — the shelf itself is mostly cosmetic. A shelf that looks identical to another can have very different real-world capacity based on what's inside the wall behind it.
What's the safest way to hang a large mirror in a home with small kids? Mirror clips or a cleat system into studs, plus security hardware at the bottom, rather than a single wire and hook.
How much does wall material change the price of hanging shelves or a mirror? It affects time more than materials cost — plaster and masonry both take longer to drill and anchor into carefully than drywall over studs.
Get it hung right the first time
We'd rather spend an extra minute finding real backing than come back for a shelf that pulled loose. Request an estimate with photos of the wall and the items you want hung, and we'll tell you what it'll take — one clear price or the full hourly rate, no surprises after the job. See the full range on our wall hanging services page.