Quick answer
A professional interior paint job spends most of its time on things you don't see in the "before/after" photos — protecting the space, prepping surfaces, patching, sanding, and priming — before a single coat of finish paint goes on. If a crew rushes straight to rolling color on the wall, that skipped prep is the corner most likely to show up later as peeling, visible patches, or uneven color.
Key takeaways
- Good prep (protection, cleaning, patching, sanding, priming) takes longer than the actual painting
- Homes built before 1978 need extra care if old paint layers get disturbed
- Most rooms take more than one day once prep, primer, and drying time between coats are counted; the exact schedule depends on scope and the products used
- Walk the space with the crew before and after — that's normal, not a hassle
Before day one: the walkthrough
A professional job starts with a walkthrough of the space, not a paint can. This is when scope gets confirmed: which rooms, walls, ceilings, trim, and doors are included; what colors and sheens; what furniture needs moving; and what surfaces need special attention — water stains, cracked plaster, peeling paint, or areas that look like they've had moisture problems. This is also the point to flag anything the crew should know about the house: pets, an alarm system, parking, or that a stairwell wall is hard to reach — something that comes up in older Pittsburgh rowhouses with narrow, steep stairs.
The day-by-day breakdown below is a typical sequence for a room or two, not a fixed timetable. A single bedroom with minor patching can move faster; a whole floor with cracked plaster, a big color change, or trim and doors will take longer.
Day 1: protect, clean, and prep the surfaces
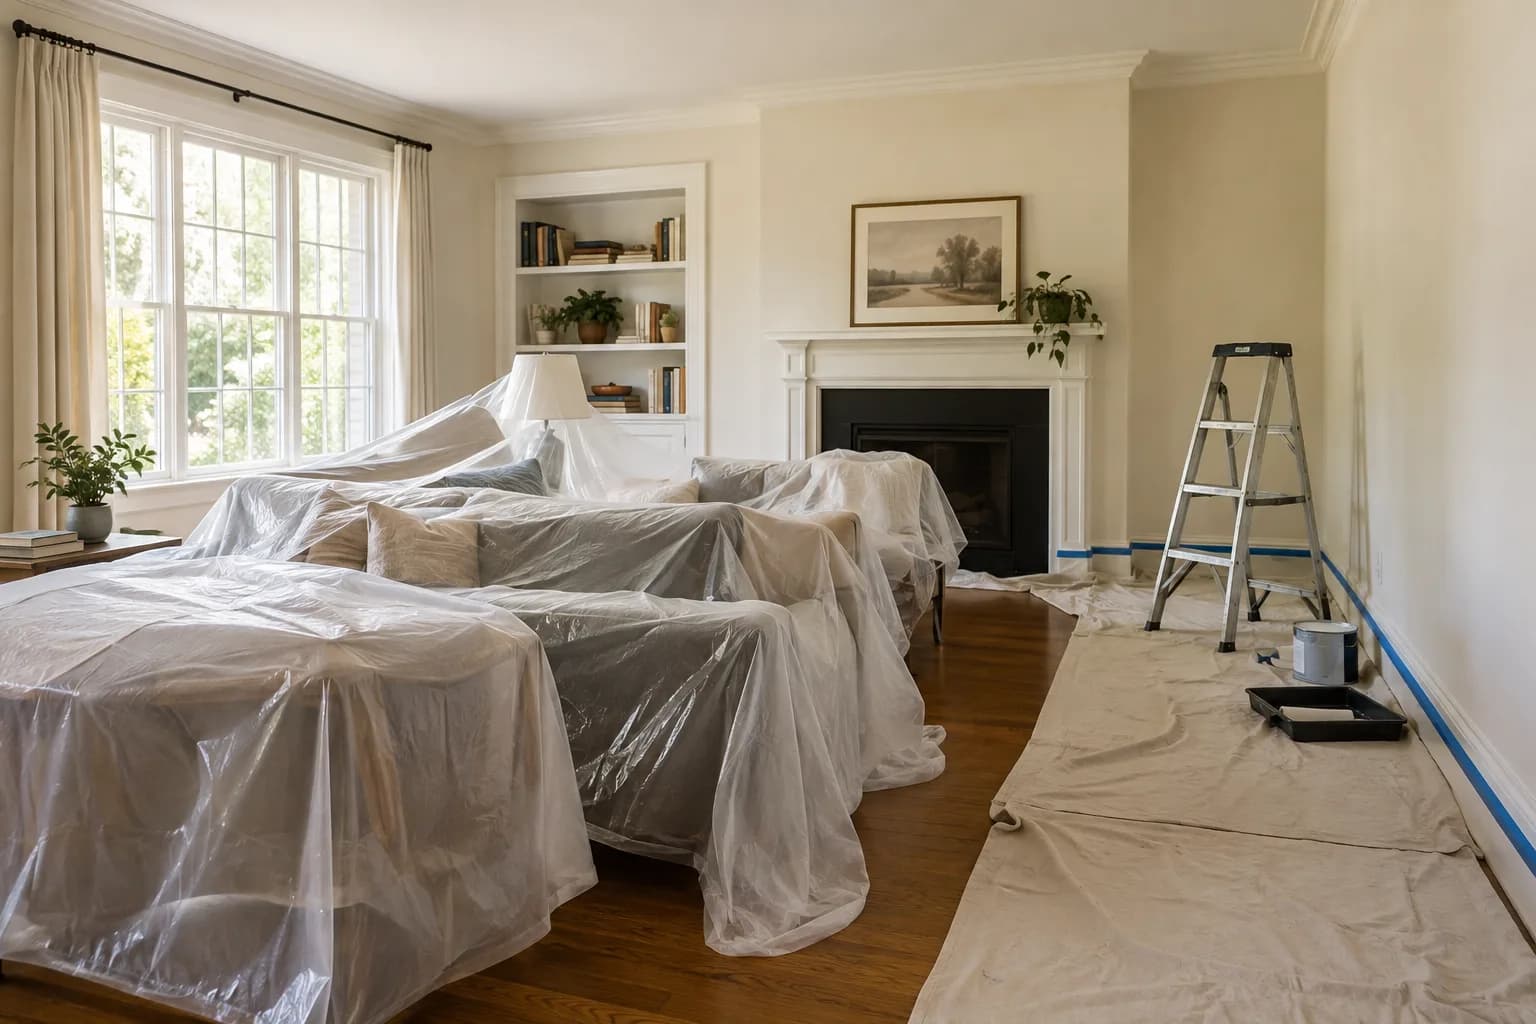
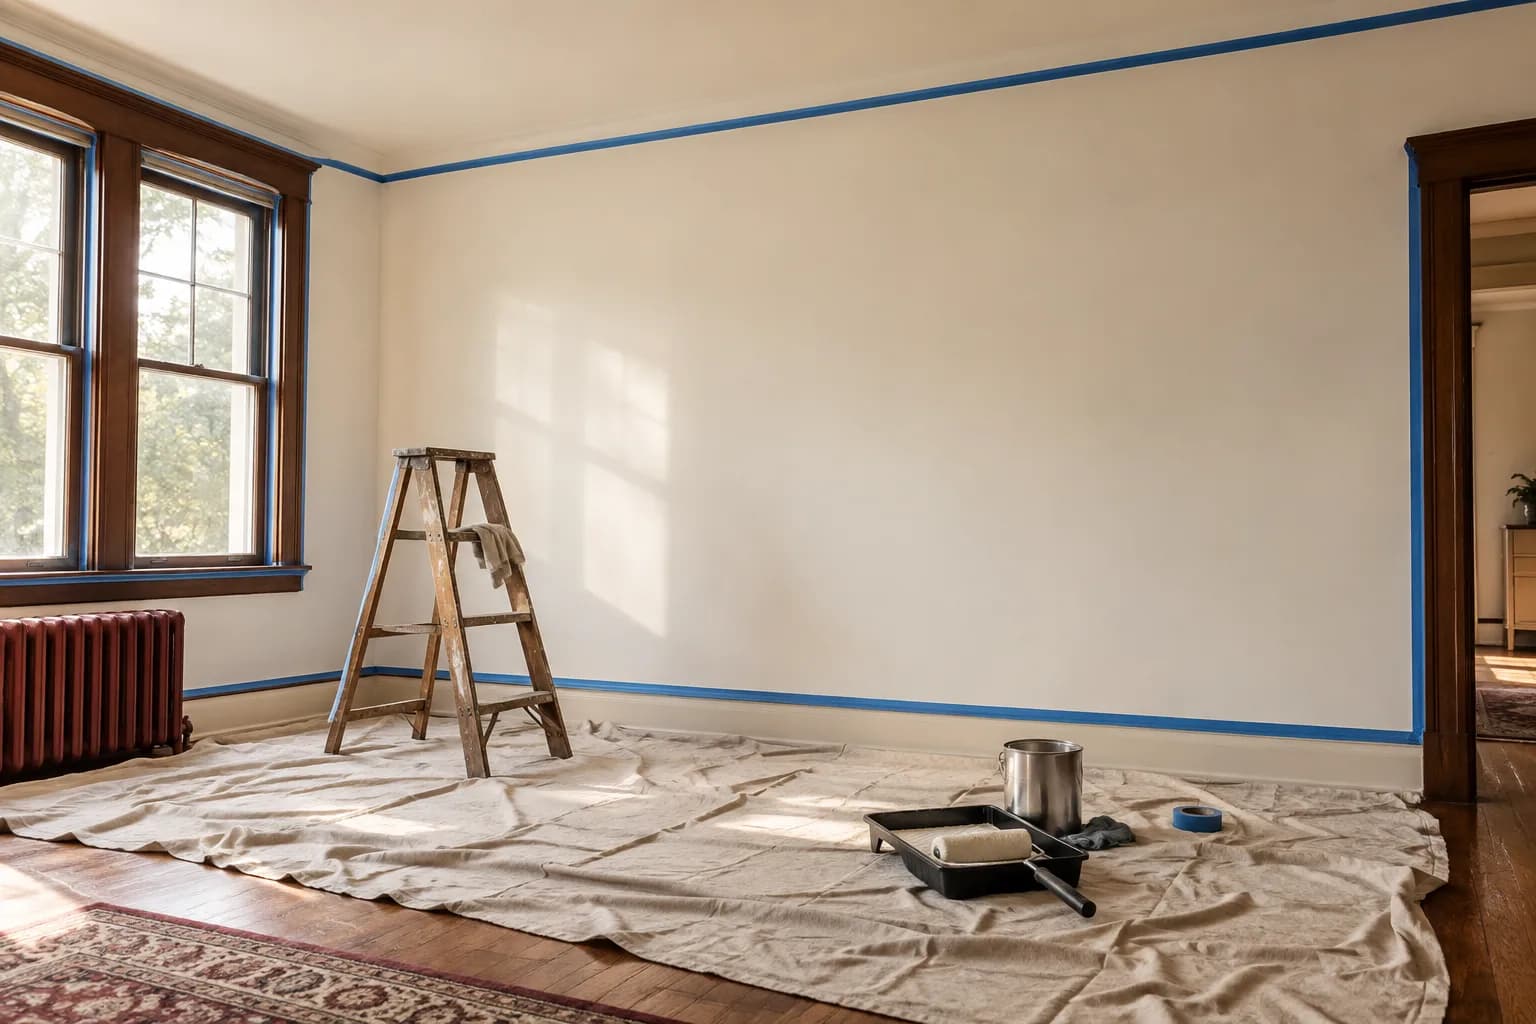
Before any paint opens, the space gets protected — drop cloths over floors and furniture, painter's tape along trim, baseboards, and edges, and any switch plates or hardware removed or covered. Then comes the part that actually determines how the final coat looks:
- Cleaning walls to remove dust, grease (especially in kitchens), and cobwebs, since paint doesn't bond well over a dirty surface
- Filling and sanding nail holes, dents, and cracks with spackle or filler, then sanding smooth once dry
- Scraping or sanding any loose, peeling, or flaking old paint back to a sound edge
- Caulking gaps where trim meets wall, so the finished line looks clean
Older homes and old paint layers
If your home was built before 1978, this prep stage matters more than usual. The EPA's Lead Renovation, Repair and Painting (RRP) program covers homes built before 1978, and the EPA explains why: renovation, repair, and painting activities can create hazardous lead dust when surfaces with lead paint, even from many decades ago, are disturbed. Under that program, the EPA requires renovation, repair, and painting firms to be EPA-certified and their workers to be trained in lead-safe work practices.
For you as the homeowner, the practical step is simple: if your home is pre-1978 and the job involves sanding or scraping old paint, ask before work starts how the crew will contain and clean up dust and debris, and whether they are EPA lead-safe certified. A careful crew won't mind the question.
Day 1 (continued) or Day 2: priming
Bare patches, repaired areas, and any surface changing from a dark color to a light one (or vice versa) typically get primed before the finish color goes on. Primer isn't an optional cosmetic step — it helps the finish coat bond evenly and stops patched or stained areas from showing through ("flashing") once the topcoat dries. Dry time before recoating depends on the specific product and the day's humidity and temperature, so a careful crew follows the label rather than a fixed clock.
Day 2 (or 3): the finish coats
Once the primer is dry enough to recoat per its label, the finish color goes on — typically two coats for even coverage, especially over a color change. This is usually done with a combination of a brush for edges, corners, and trim ("cutting in") and a roller for the broad wall area, which keeps the texture consistent across the whole surface. Between coats, the crew checks for thin spots, drips, or roller marks while the paint is still workable enough to correct.
Trim, doors, and window casings — if included in scope — are usually painted separately from the walls, often with a different sheen (semi-gloss or satin trim against flat or eggshell walls is common), since trim gets touched and needs to be more washable.
Final walkthrough and cleanup
A finished job ends with the crew walking the space with you — checking lines are crisp, no drips or holidays (thin missed spots), switch plates and hardware are back on, and furniture is returned to place. Drop cloths, tape, and debris get removed, and any touch-up needs get flagged before the crew leaves, not discovered by you a week later.
What a professional crew should always do — a checklist
- Walk the space and confirm scope, colors, and sheens before starting
- Protect floors, furniture, and fixtures before opening any paint
- Clean and repair surfaces before priming
- Use lead-safe practices for heavy sanding/scraping in pre-1978 homes
- Prime bare, patched, or color-changing surfaces
- Apply finish coats with even technique (cut-in plus roll), checking as they go
- Do a final walkthrough with you before calling the job done
- Leave the space as clean as they found it
Treat the schedule as a sequence, not a promise of identical days
The day-by-day outline above explains the order of work. It does not mean every room needs the same number of days or that drying time can be compressed to fit a calendar. Surface repairs, existing coatings, ventilation, the selected product, and the size of the space all influence when the next step can begin.
Ask for a plan that separates active work from waiting time. For example, the crew might finish preparation in one room while a repair dries in another. That can keep work moving without painting over material that is not ready. Follow the actual product's drying and recoating instructions rather than applying a universal number of hours from a general article.
Decide which rooms must remain usable. A bedroom may need a different sequence from a home office with scheduled calls. Discuss access, furniture protection, pets, and where supplies can be stored. Even a small job becomes frustrating when the owner and painter have different expectations about when the room will be available.
Agree on the finish in normal viewing conditions
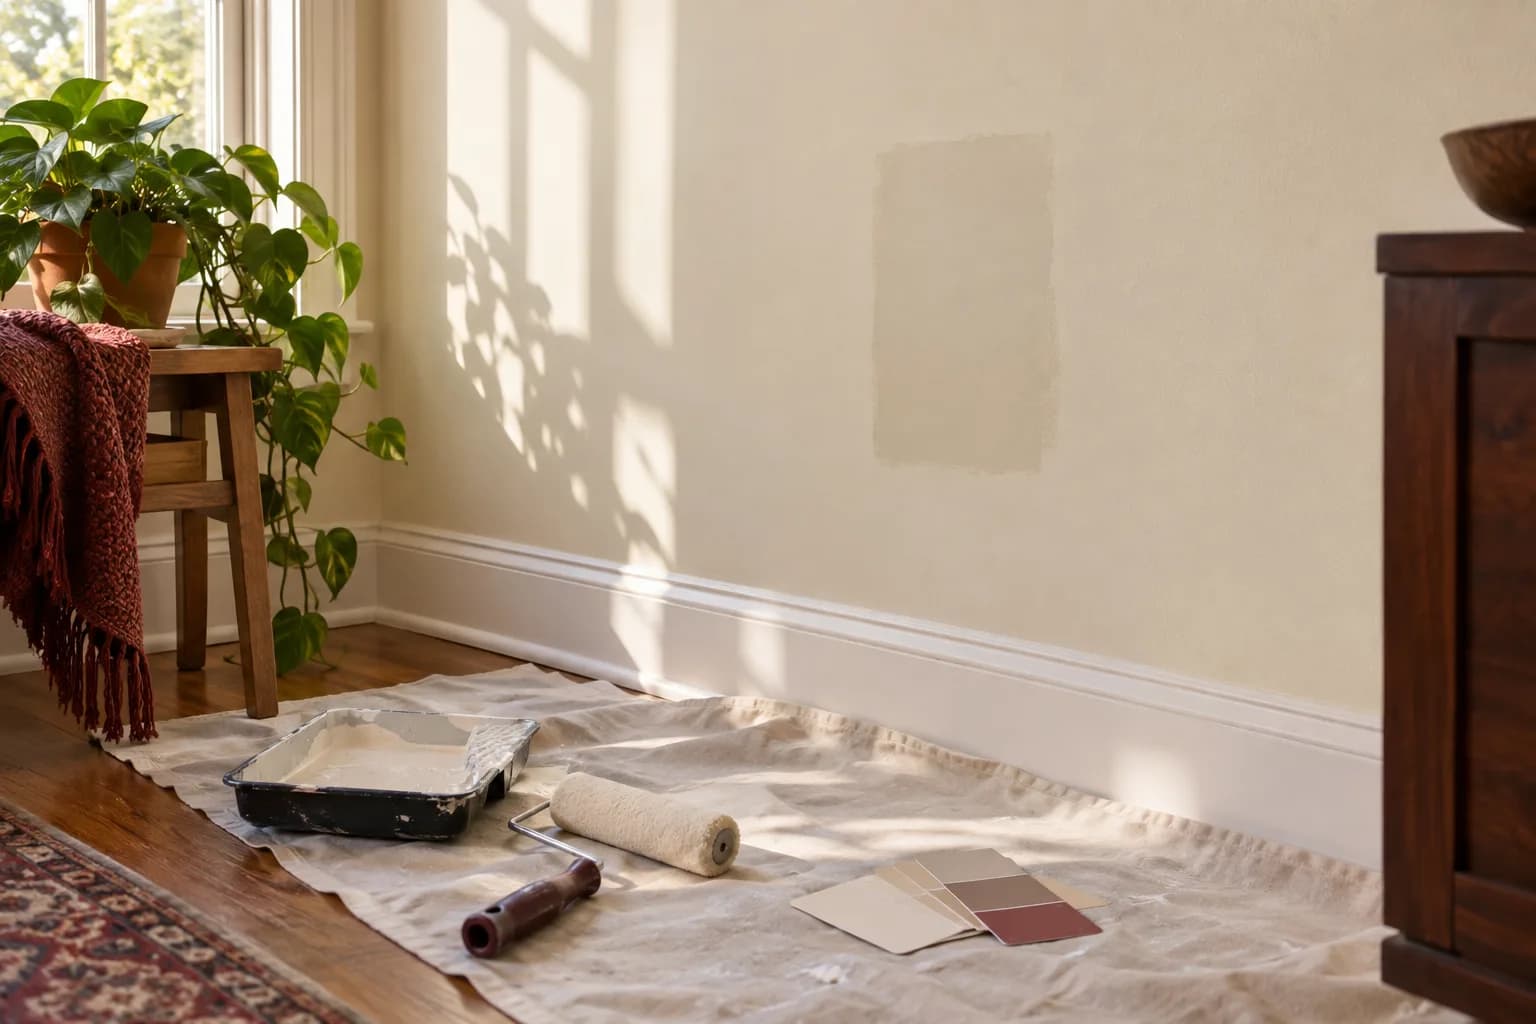
Specify the surfaces and the desired level of repair before painting. Filling a few nail holes differs from making an old wall uniformly smooth under strong side lighting. A color change can make existing texture more noticeable without creating a new defect. Photos and a sample area can help align expectations, especially on patched plaster.
Review the room under the lighting you will normally use. Look for missed edges, drips, inconsistent coverage, and obvious repair transitions. Avoid pressing on a newly coated surface to test it. “Dry to the touch” and ready for cleaning, tape, or furniture contact are different milestones; the coating's instructions govern those decisions.
If something needs correction, name the location and the issue. “Thin coverage beside the window trim” gives a painter an actionable observation. “The room feels wrong” may be a color or lighting decision and needs a different conversation from a workmanship correction.
Leave with a maintenance record
Ask for the exact product, sheen, color code, and any special preparation notes. Label leftover paint for the room and surface, and store it according to the manufacturer instructions. Keep a photograph of the label even if you do not keep the can. This record is much more useful for a later touch-up than a memory of the color name.
Also record when the room can be cleaned and how the finish should be treated. Avoid sticking decorations, adhesive hooks, or masking tape onto new paint before the maker permits it. If you need shelving or a television mounted, coordinate the sequence so the mounting work does not damage a freshly completed finish. Our touch-up or repaint guide explains what to consider if marks appear later.
FAQ
How many coats of paint will my job actually need? It depends on the existing color, the new color, and the paint's coverage — a dramatic color change (dark to light, or the reverse) usually needs more coats than a similar-to-similar refresh. Talking through the existing and new colors before the job starts (or looking at a small test patch) helps set the right expectation.
Do I need to empty the room completely? Not usually — furniture typically gets moved to the center of the room and covered rather than removed entirely, unless the room is very full or you'd prefer it cleared. This is worth confirming during the walkthrough.
Why does prep take longer than the actual painting? Because the final coat only looks as good as the surface underneath it. Skipping cleaning, patching, or sanding doesn't save real time — it just moves the problem to after the paint dries, when it's much harder to fix.
Is my home old enough that lead paint prep matters? If it was built before 1978, yes — ask your painter how they handle surface prep and dust, since 1978 is the cutoff year the EPA's RRP program uses for homes. If you're not sure when your home was built, your purchase or rental paperwork or local property records may show the year it was built.
Ready to get started?
Every job we quote gets the same treatment: you see the plan and the full price for the job up front, or the full hourly rate — no surprise line items after the fact. Request an estimate with a few photos of your space, or learn more on our painting services page.