Prepare for access as well as protection
Painting a furnished room is a small logistics project. Someone needs to reach the walls and ceiling, supplies need a stable place, and the household still needs safe access to the rest of the home. Simply throwing covers over everything does not solve all three needs.
Before moving furniture, confirm which surfaces will be painted and who is responsible for each preparation task. A project covering walls alone differs from one that includes ceilings, doors and trim. The agreed scope should tell you which items need to leave and which can safely remain protected.
Walk the room with the scope in hand
Photograph each wall from enough distance to show the furniture, windows and corners. Identify the surfaces that stay as they are, including built-ins, shelving or a wall behind a large cabinet. Ask how edges and inaccessible areas will be handled before work starts.
Make a room list rather than relying on memory. Include curtains, blinds, pictures, mirrors, lamps, rugs, electronics and freestanding furniture. Note items attached to the wall and anything connected to power, plumbing or another fixed system. Those details affect what can be moved and by whom.
Our interior painting day-by-day guide explains the larger project sequence. Use it to identify decisions that should be settled before the room is rearranged.
Remove small and valuable belongings first
Take out personal papers, jewelry, medications, fragile decorations and anything you need during the project. Empty open shelves and the tops of dressers and desks. Store these items in a separate, clearly identified place rather than creating an unstable pile in the hallway.
Pack books and loose objects in containers you can manage safely. Label boxes by room and shelf if restoring the arrangement matters. Photograph shelves or a picture grouping before clearing them; that is often more useful than trying to remember their positions several days later.
Do not leave daily essentials buried under a protective cover. Set aside chargers, work materials and clothing you will need. A little advance sorting reduces the temptation to enter the work area repeatedly while preparation or painting is underway.
Decide what furniture can remain
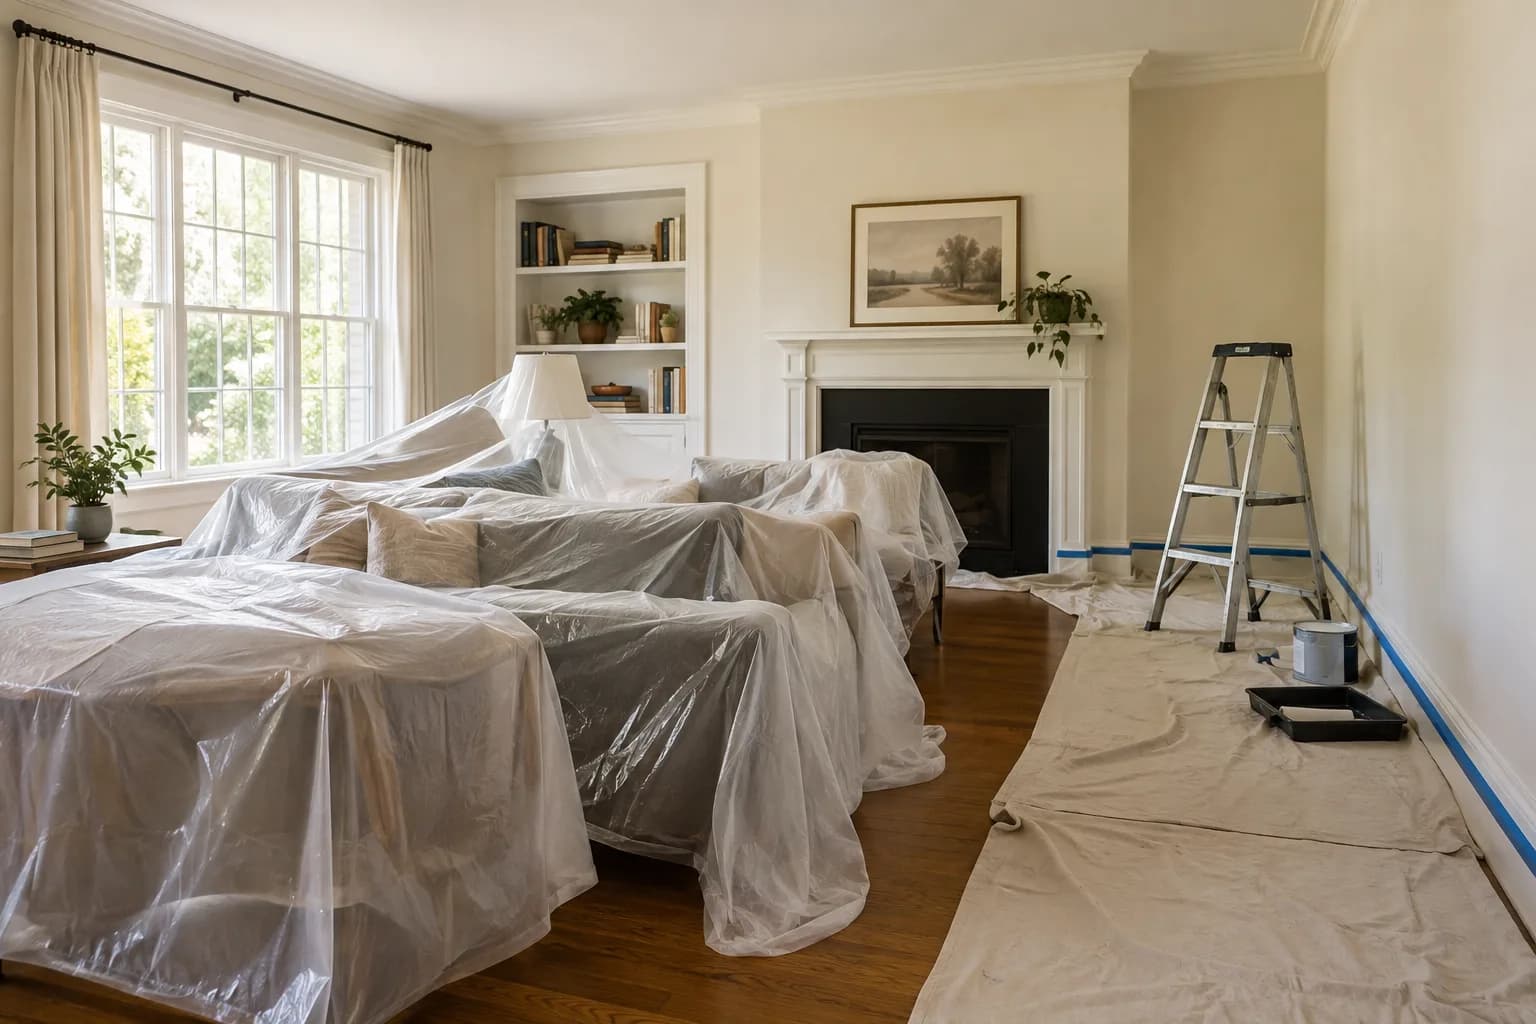
Sherwin-Williams' room-preparation guidance recommends removing furniture where possible or gathering and covering it. Apply that approach to the actual room: the remaining arrangement must still leave suitable working access around it.
Ask the painter what clearance the chosen methods require. There is no single furniture-to-wall distance that works for every room, ladder arrangement or surface. A pile in the center may be workable in a large bedroom but leave too little room in a small office.
Heavy wardrobes, pianos, large aquariums and other difficult items need a separate handling plan. Do not assume a painting estimate includes heavy moving. If furniture is anchored, agree on who will handle any necessary removal and correct reinstallation of its restraints. Do not leave it unrestrained in use afterward.
Plan floor and furniture protection together
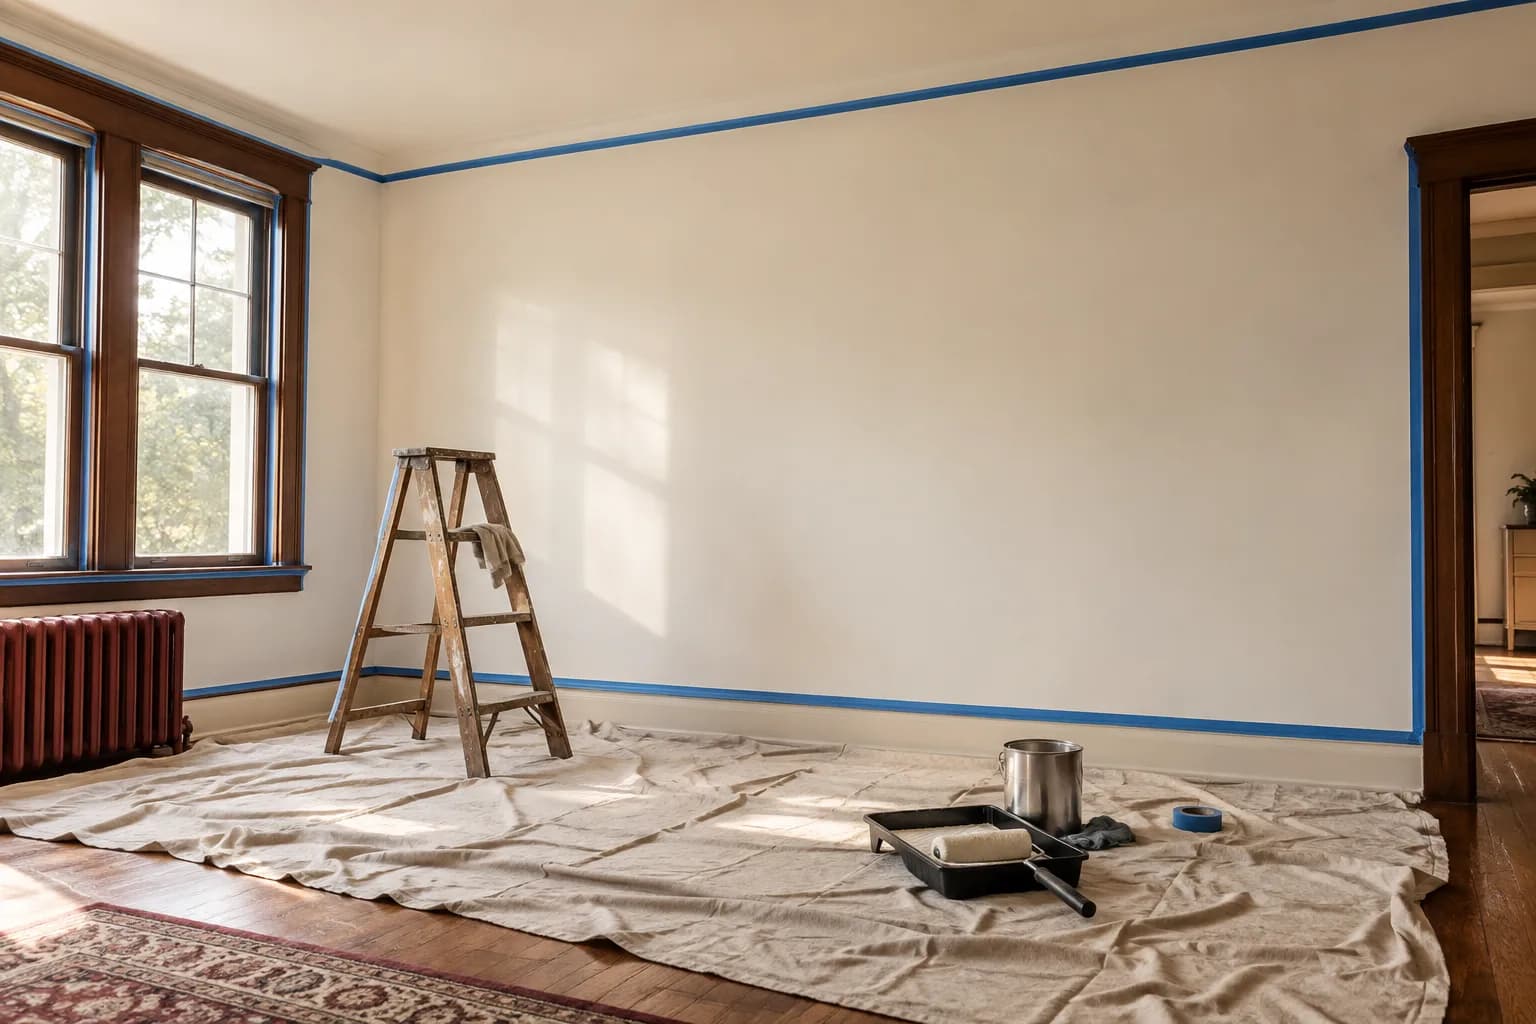
Inspect the floor before covering it and note existing damage. Remove debris that could be trapped beneath protection. Choose materials suitable for the floor finish and expected foot traffic, with attention to edges and transitions.
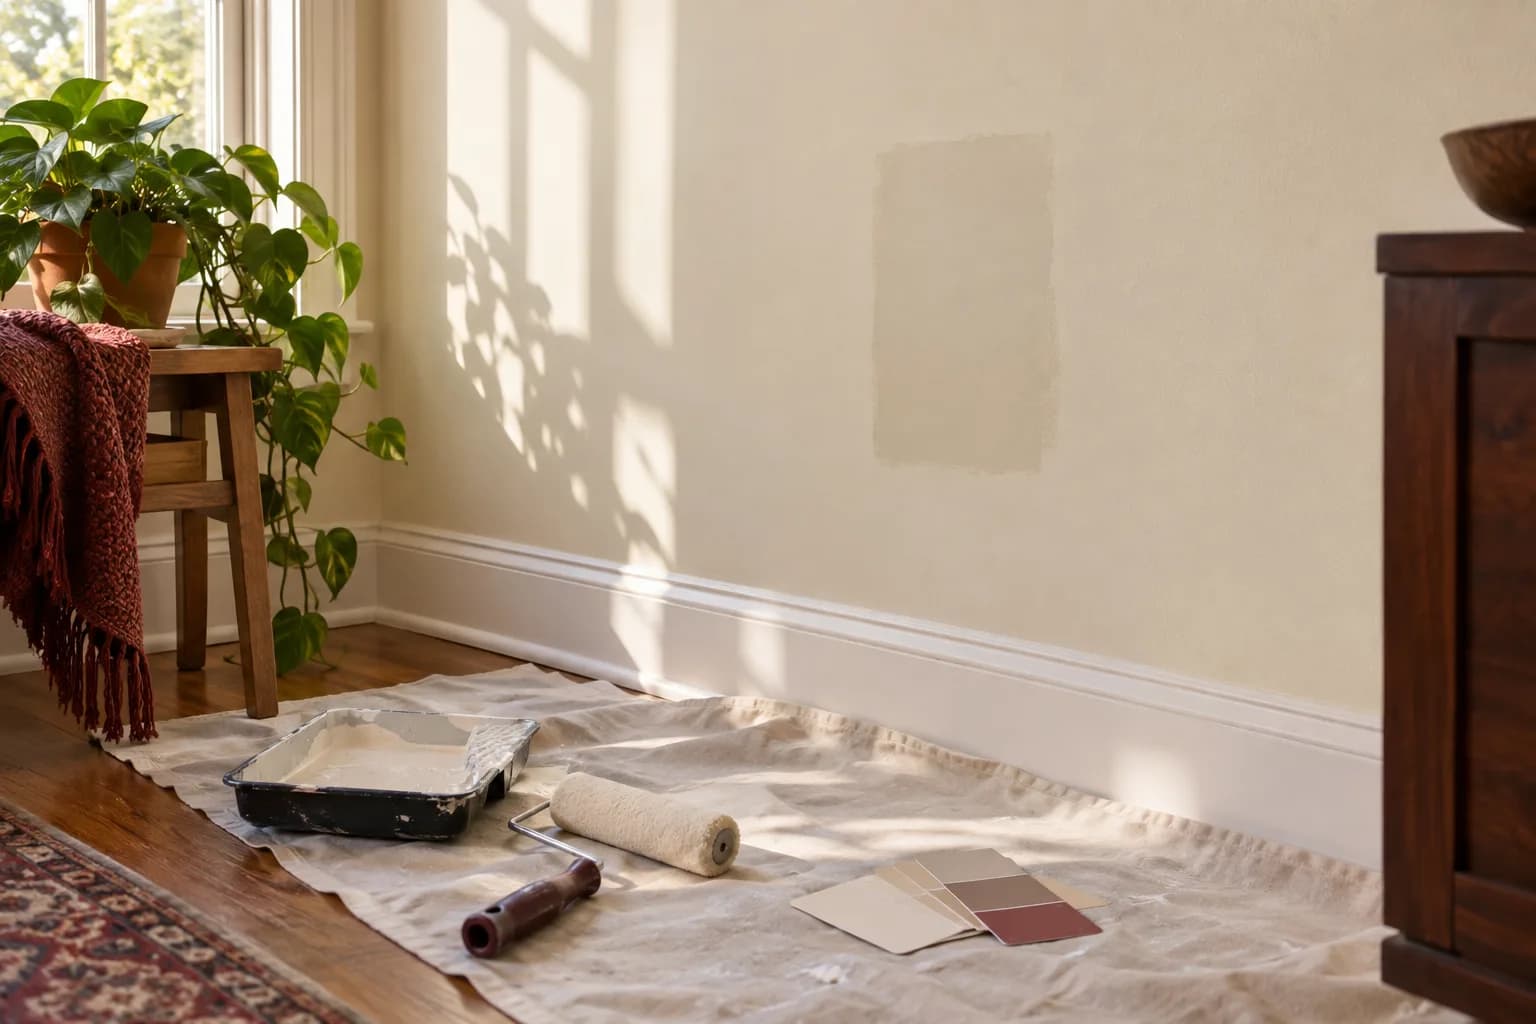
Sherwin-Williams' wall-preparation guide discusses drop cloths and warns that plastic and paper can slide underfoot. Protection should be arranged to avoid creating a trip or slip problem. Adhesives also need to be suitable for the surface and removed according to their instructions.
Cover furniture completely enough for the work planned, but do not use covers to hide unresolved access issues. Leave no narrow passage that requires squeezing past wet paint or climbing over covered objects. Keep the route to the room and the exit usable throughout the project.
Record what should happen to wall attachments
Mark which picture hooks remain and which holes should be patched. A simple annotated photo prevents a useful hook from being removed or an unwanted hole from being overlooked. Decide whether curtain rods, shelves and television brackets are staying, coming down or being handled separately.
Bag and label small removable hardware by location. Keep screws with their matching bracket rather than combining everything in one container. Photograph assembly details if they will matter during reinstallation.
Do not disconnect electrical fixtures or disturb fixed wiring as ordinary decorating preparation. If fixture work is needed, arrange an appropriately qualified professional and coordinate the sequence. Leave unfamiliar systems alone until the responsibility and scope are clear.
Discuss older coatings before disturbing them
In a home built before 1978, surface preparation may disturb lead-based paint. The EPA's Renovation, Repair and Painting program explains the lead-safe framework and available guidance. Establish how the age and condition of the coatings will be assessed before sanding or scraping begins.
Ordinary furniture covers are not a substitute for a suitable lead-safe work plan. Ask the contractor how the applicable requirements, containment and cleanup will be addressed. Do not start scraping peeling areas yourself to make the room seem ready for the appointment.
Also report water stains, dampness, loose plaster or recurring cracks. A painting visit should not quietly become a repair of an unidentified underlying problem. Resolve the assessment and any separate work before choosing how those areas will be coated.
Arrange household use while the room is unavailable
Decide where children and pets will stay, where work calls can happen and how people will reach necessary rooms. Keep them out of the active work area. If the project affects the only bedroom or an essential passage, discuss the daily sequence before scheduling.
Ventilation and return-to-use timing should follow the selected products and project conditions. Do not assume every coating permits the same reopening schedule. Tell the contractor about practical constraints so those instructions can be accommodated rather than ignored.
For a hypothetical furnished home office, the workable plan might be to move the computer to another room, box the books, protect a small desk in place and keep the doorway clear. If a large shelving unit prevents safe access, that item requires its own arrangement before painting day.
Agree on what "ready" means the day before
Use a short readiness check:
- Personal and fragile items are out of the work area.
- Paint colors, products and surfaces are confirmed.
- Furniture handling responsibilities are agreed.
- Hooks, brackets and patch locations are identified.
- Floor protection and safe access are planned.
- Older coatings and damaged areas have been discussed.
- Children, pets and essential daily activities have another location.
If one item remains unresolved, tell the contractor before arrival. A missing furniture plan can affect the whole room, while an undecided hook may affect only a small patch. Clear information allows the scope to be adjusted deliberately.
Reset the room in a controlled order
At the end, inspect the agreed surfaces before furniture hides them. Review product guidance for curing, cleaning and contact with newly painted areas. Return furniture without rubbing it against the fresh coating, and restore required restraints before the furniture is used.
Reinstall only the attachments included in the agreed plan. Keep paint labels and hardware records for later maintenance. Our touch-up guide explains why those records are useful if the room eventually needs a small repair.
For help planning the work, see interior painting or request an estimate with full-room photos, the surfaces you want painted and the large items that must remain. Include preparation and reset responsibilities in the proposed scope.