Quick answer
A home office setup that actually works day after day comes down to three things fitting together correctly: a monitor arm that's rated for your actual monitor's weight and mounting pattern, a dock that matches your laptop's ports and power needs, and cable routing that's planned before anything is mounted — not patched together afterward. Skipping the fit-check on any one of those three is how people end up returning or re-buying gear.
Start with the monitor, not the arm
Before shopping for a monitor arm, you need two numbers from your own monitor: its weight and its VESA mounting pattern — the spacing between the four screw holes on the back.
BenQ's monitor mounting guide lists common patterns of 50 x 50mm, 75 x 75mm, 100 x 100mm, and 200 x 200mm, "depending on monitor size and launch date," and notes that "the most commonly used VESA sizes are 100 x 100mm and 75 x 75mm." The same guide advises that before buying a monitor arm you "also verify your screen's size and weight specifications."
Before you buy an arm:
- Check your monitor's spec sheet or manual for its listed VESA pattern (don't assume — measure the hole spacing yourself if you can't find it documented).
- Confirm the monitor's weight without its stand and choose an arm whose supported minimum and maximum weight range includes the monitor and any accessories it must carry. An oversized spring-assisted arm can be unsuitable for a very light screen; Ergotron lists supported weight ranges for its arms.
- Note whether the monitor's VESA holes sit in a recess in the back panel. BenQ notes that some 75 x 75mm mounts are deeply recessed, which may cause compatibility issues with certain arms, and that larger screens using a 200 x 200mm pattern will likely need an additional adapter plate.
- If the arm's plate doesn't match your monitor's pattern, check whether the arm maker offers a compatible adapter plate — it's one more part to buy and one more thing to install level.
Wall-mount vs. desk-clamp vs. grommet base
Monitor arms usually mount to a desk in one of three ways:
- Clamp mount — grips the back edge of the desk. Fast to install, no drilling, but needs enough clear desk depth and a compatible edge thickness.
- Grommet mount — goes through a hole drilled in the desk. More stable for heavier or multi-monitor setups, permanent to that desk.
- Wall mount — frees up the desk entirely and suits fixed workstations, but it's only as good as what's behind the wall and the hardware the mount's instructions call for. In older Pittsburgh homes with plaster-and-lath walls, locating the framing before drilling takes more care than with modern drywall, and a loaded arm that extends out from the wall puts real leverage on its screws.
The dock: match it to what you actually plug in
A single-cable docking setup is genuinely convenient when it's the right dock for your laptop — one cable handling video, data, and charging at once. But what one cable can do depends on both the laptop's port and the dock, and a mismatch is how people end up with a dock that "almost" works.
BenQ's comparison explains why USB-C connector shape should not be mistaken for a complete capability specification. Check the laptop's supported data and display modes, the dock's documented host compatibility, its delivered charging power, and the supplied cable. Do not assume a single advertised wattage or the word USB-C guarantees the desired display and charging combination.
Before you buy a dock, confirm:
- Your laptop supports video output over USB-C (not every USB-C laptop does).
- The dock's power delivered to the host meets the laptop maker's requirements for your configuration; some computers also require their own adapter for full performance.
- How many external monitors you actually want, and at what resolution and refresh rate — both the laptop's port and the dock have to support that setup, so read the fine print on each.
- Whether you need Ethernet, extra USB-A ports, or an SD card reader built in, since dongle sprawl defeats the point of "one cable."
Cable management: plan the route before you mount anything
The single biggest mistake in home office setups is mounting the monitor arm and dock first, then figuring out cable routing after — which is how you end up with visible cable clutter no clip can fully hide.
A better order of operations:
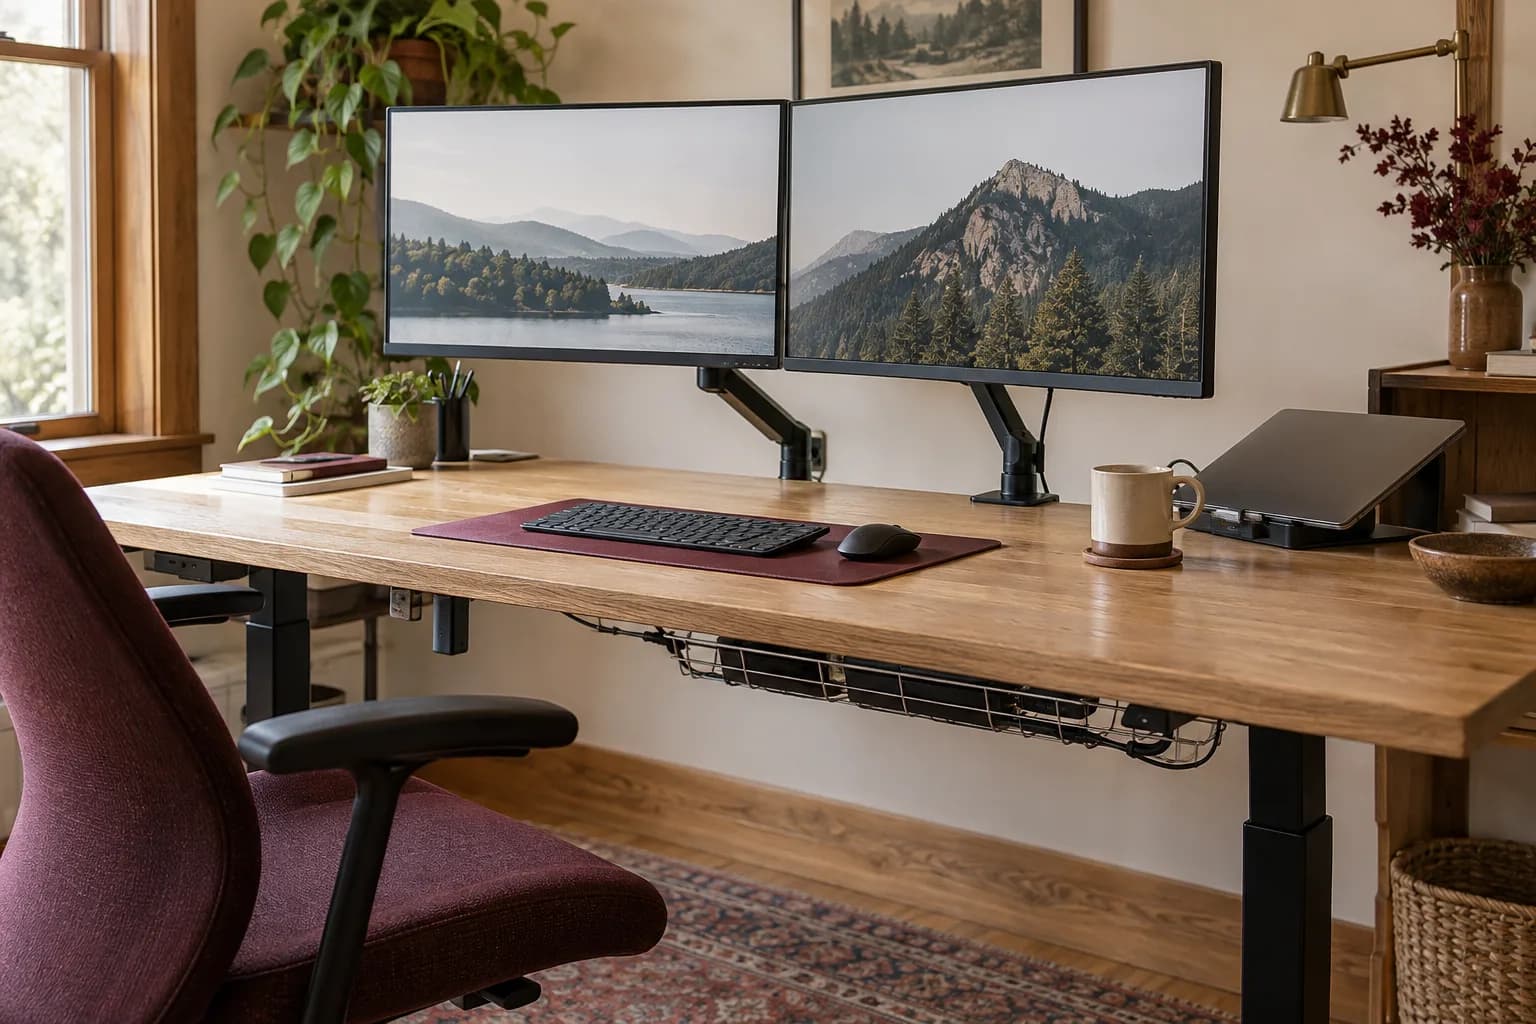
- Decide where the dock lives (usually attached under the desk or tucked beside the monitor arm's pole) before you finalize monitor arm placement.
- Route power and video cables through the arm's cable channel (many arms have one) before attaching the monitor — it's much harder to thread cables once the monitor is mounted.
- Use a cable channel or raceway along the back edge of the desk for anything that has to travel horizontally, rather than letting cables hang in a visible loop.
- Leave a small service loop of slack at the monitor end — enough to tilt or rotate the arm through its full range without pulling a cable taut.
- Label or color-code cables at the dock end before tucking anything away — future-you troubleshooting a dead monitor at 8am will thank you.
A quick pre-purchase checklist
| Check | Why it matters |
|---|---|
| Monitor weight vs. arm weight rating | Underrated arms sag or drift downward over months |
| VESA pattern match (or adapter needed) | Wrong pattern means the arm simply won't attach |
| Desk edge thickness/depth for clamp mounts | Some clamps don't fit very thick or very thin desk edges |
| Wall framing location for wall mounts | Follow the mount's anchoring instructions; don't guess at what's behind the wall |
| Dock power delivery wattage vs. laptop charger | Underpowered docks charge slowly or not at all under load |
| Number and resolution of monitors the dock supports | Easy to overbuy or underbuy here |
| Cable channel routing planned before mounting | Avoids retrofitting cable management after the fact |
Build a compatibility worksheet with exact model names
Write down the laptop model and operating system, the dock model, each monitor model, and the cables between them. For every monitor, record the resolution and refresh rate you intend to use. Then compare that arrangement with the laptop and dock manufacturers' supported configurations. “Two monitors” is incomplete when the output capabilities can depend on resolution, operating system, connection type, and the specific computer.
Check charging separately from display support. The power supply attached to the dock, the power it delivers to the computer, and the laptop's accepted charging requirements are distinct specifications. A connector that fits does not prove that the setup will charge as expected during normal work. Use the equipment documentation instead of treating any single wattage as a universal recommendation.
Include equipment you already own before buying replacements. A printer, webcam, headset, and external drive may need particular ports or software. If the computer belongs to an employer, ask its IT team about approved docks, drivers, and account permissions. A home visit should not bypass management settings to make an unsupported accessory work.
Test an ordinary workday, not just a lit screen
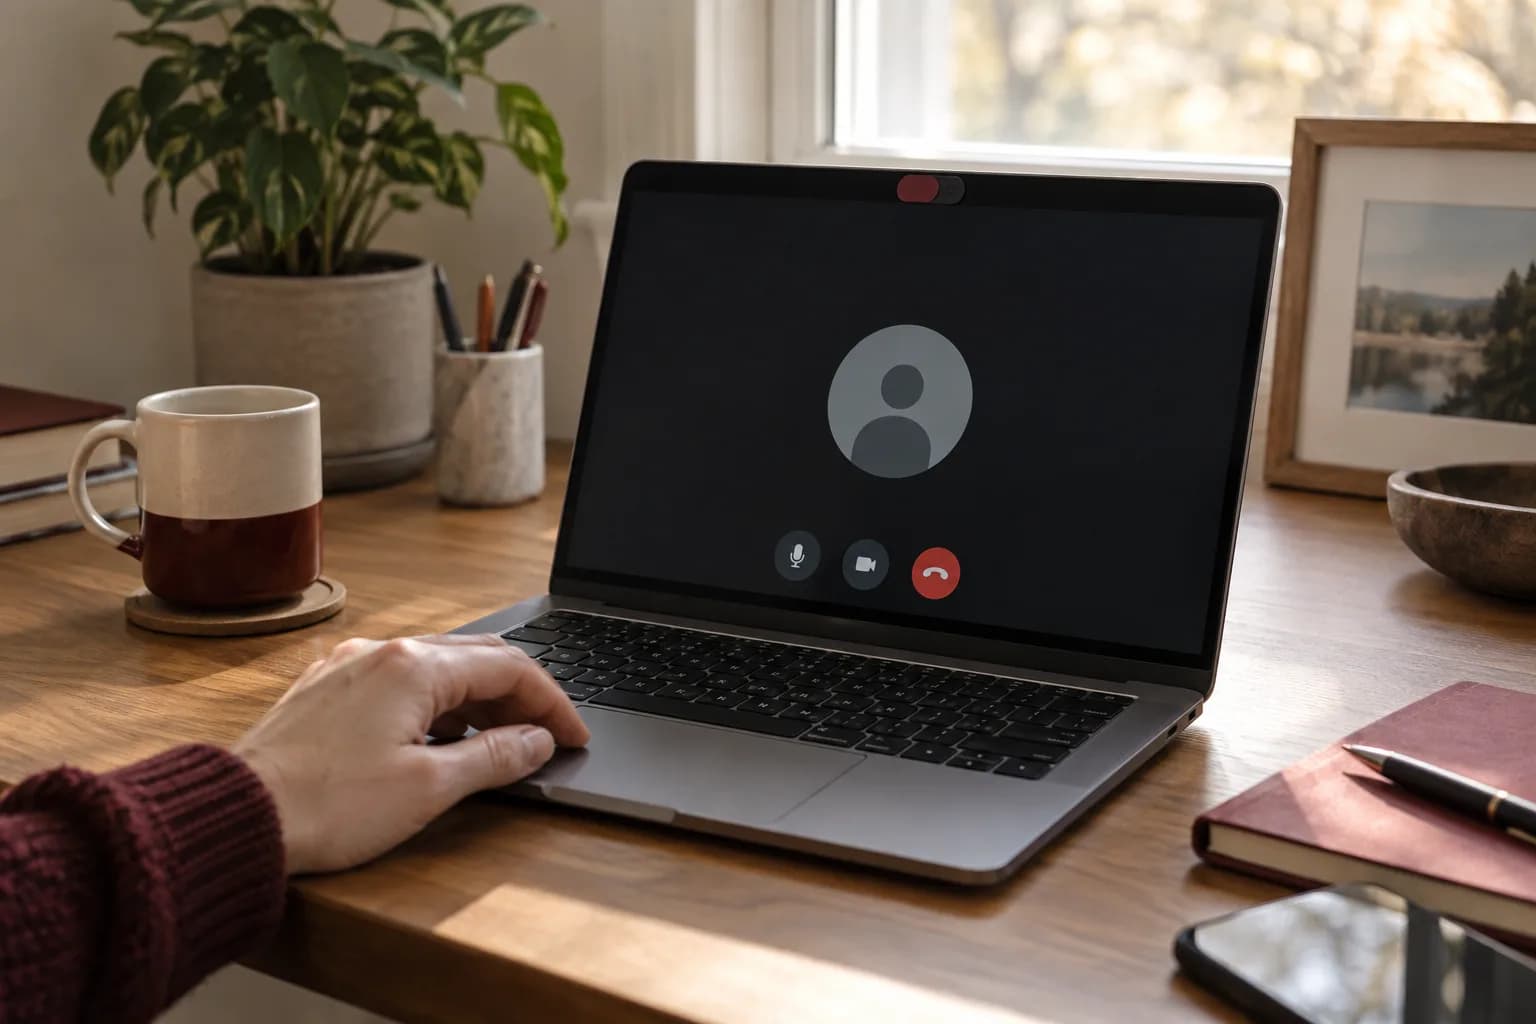
A practical handoff begins with the laptop connected as you will normally use it. Open your usual applications, check that the displays are arranged in the correct order, and confirm the intended audio input and output. Try a short video meeting test using the actual webcam and microphone. Keep private work content off any screenshots taken for service notes.
Then check routine transitions. Put the computer to sleep and wake it using its normal controls. Disconnect and reconnect the dock if that is part of your daily habit. Observe whether the expected monitors, keyboard, network connection, and charging return. These checks do not prove long-term reliability, but they can reveal a configuration that works only immediately after setup.
If something fails, record which component and connection were involved rather than repeatedly replacing settings at random. A useful note might say that one monitor works directly but not through the dock with the selected resolution. That gives the manufacturer or technician a specific compatibility question to investigate.
Leave room to move and repair the desk
Run an adjustable desk through its intended range only after the cable route is ready and the area is clear. Watch for a cord that tightens, a power strip that moves, or a monitor arm that approaches a wall shelf. Reposition equipment before closing cable channels. Keep access to frequently changed connections and avoid bundling cables so tightly that one replacement requires dismantling the entire office.
Save a simple labeled photo of the final connections without exposing passwords or sensitive screen content. Store spare adapters by purpose, not just in an unmarked drawer. When the laptop or a monitor changes, update the worksheet and repeat the compatibility check. A tidy installation stays useful when its owner can understand and maintain it.
FAQ
Can any monitor arm hold any monitor? No — arms are rated for a weight range and require a matching VESA pattern. An arm that's technically strong enough but mismatched in pattern still won't attach without an adapter plate.
Do I need Thunderbolt, or is USB-C/USB4 enough? It depends on your laptop and how many monitors you're driving. Check the exact laptop, operating system, dock, and monitor combination in the manufacturers' documentation. A capability associated with a connection standard does not establish that every host supports your particular multi-display arrangement.
Is a wall-mounted arm better than a desk-mounted one? Not universally — it depends on your desk setup and what's behind the wall. A wall mount frees desk space but needs solid framing; a desk mount is more flexible if you rearrange furniture later.
How do I know if my desk can take a grommet mount? Check the arm's instructions for the desktop thickness range it supports, and whether you're allowed to drill the desk at all. Thin or hollow-core tops may need a reinforcement plate, and some desks have frames or drawers in the way underneath.
Getting the fit right the first time
Between weight ratings, VESA patterns, port compatibility, and wall framing, it's easy to buy gear that's close but doesn't quite fit — and returns or re-buys waste more time than a quick check up front. Our team can assess compatibility before you order and discuss a suitable mounting and cable-routing scope. See our smart home services for what's included, or request an estimate with photos of your desk, wall, and monitor model and we'll tell you what will actually work.