Quick answer
Lower-quality paint tends to carry less of the ingredients that actually cover and protect a wall, so it can take more coats to look even and may need repainting sooner. Once you count labor, extra coats, and how long the finish holds up, a better paint in the right sheen for the room is often the cheaper choice overall. Price alone doesn't prove quality, though — the product's data sheet tells you more than the price tag.
Where the difference in paint quality comes from
Paint manufacturers describe four key ingredients:
- Pigments. "Prime" pigments provide color and hide (the ability to cover what's underneath). Lower-cost "extender" pigments add bulk but contribute little to color.
- Binders. The binder holds the pigment together and forms the film that sticks to the wall. Better binders adhere better and resist cracking, blistering and peeling.
- Liquids. The water or solvent simply carries the paint from the can to the wall, then evaporates.
- Additives. Smaller ingredients for specific jobs, such as flow and leveling, mildew resistance, keeping pigments evenly dispersed, and preventing spoilage.
According to one major paint manufacturer's technical guidance for contractors, higher-quality paints contain more prime pigment and a greater ratio of solids (pigments and binders) to liquids, and lower-quality paints require more coats to cover and need maintenance sooner. That's the logic behind "cheap paint costs more coats": a gallon that's mostly liquid and filler leaves less behind on the wall once it dries.
On a professional job, that matters more than the price of the can. Every extra coat means more paint, more cutting-in around trim, more drying time, and often another visit day.
How to judge paint without relying on marketing claims
"One-coat" and coverage claims on the label depend heavily on the conditions: how big the color change is, what the surface looks like, and how the paint is applied. Instead of trusting a single number, use a few more reliable checks:
- Look up the product data sheet. Many manufacturers post technical or product data sheets for their paints online. Where they're available, look for details such as solids content, recommended coverage, dry and recoat times, surface prep, and VOC information — it's a better basis for comparison than price or the front of the can.
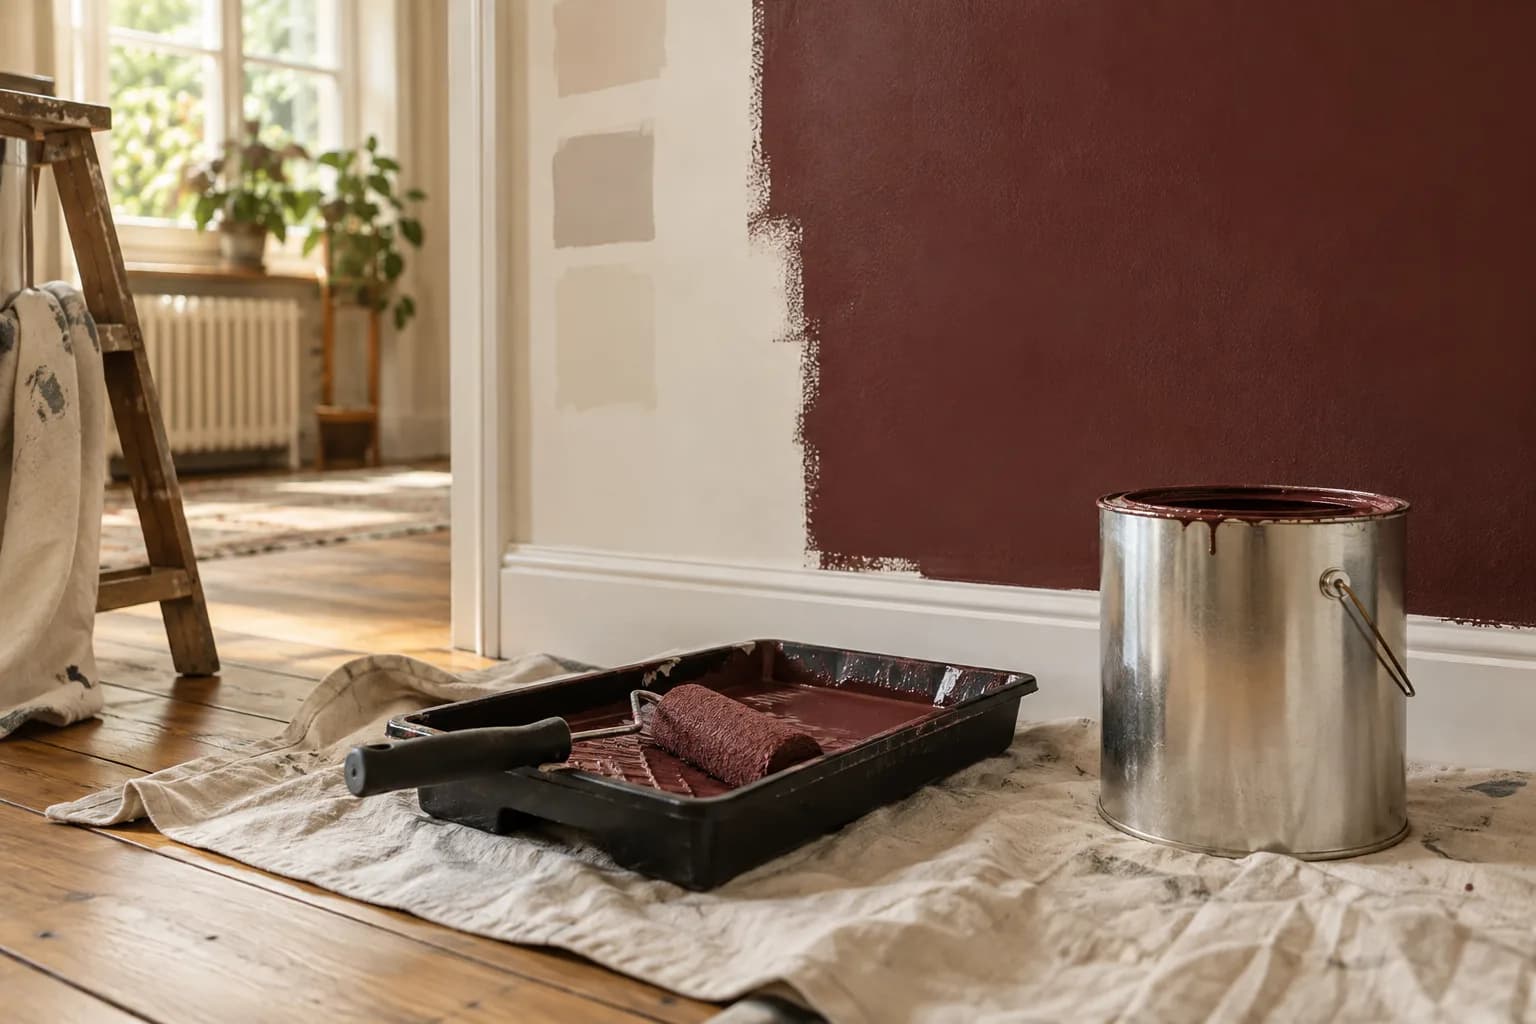
- Plan for big color changes. Going from dark to light, or light to a deep color, takes more attention to coverage with any paint. Budget for an extra coat or a tinted primer rather than hoping.
- Match primer to the wall. Bare drywall, patched areas, water stains, and glossy old finishes are the usual cases where a separate primer earns its place, even with a "paint and primer" product. Follow the product's instructions for your surface.
- Compare total cost, not cost per gallon. Count the coats you expect to need and how long you want the finish to last before touch-ups or a repaint.
Choosing the right finish (sheen) for each room
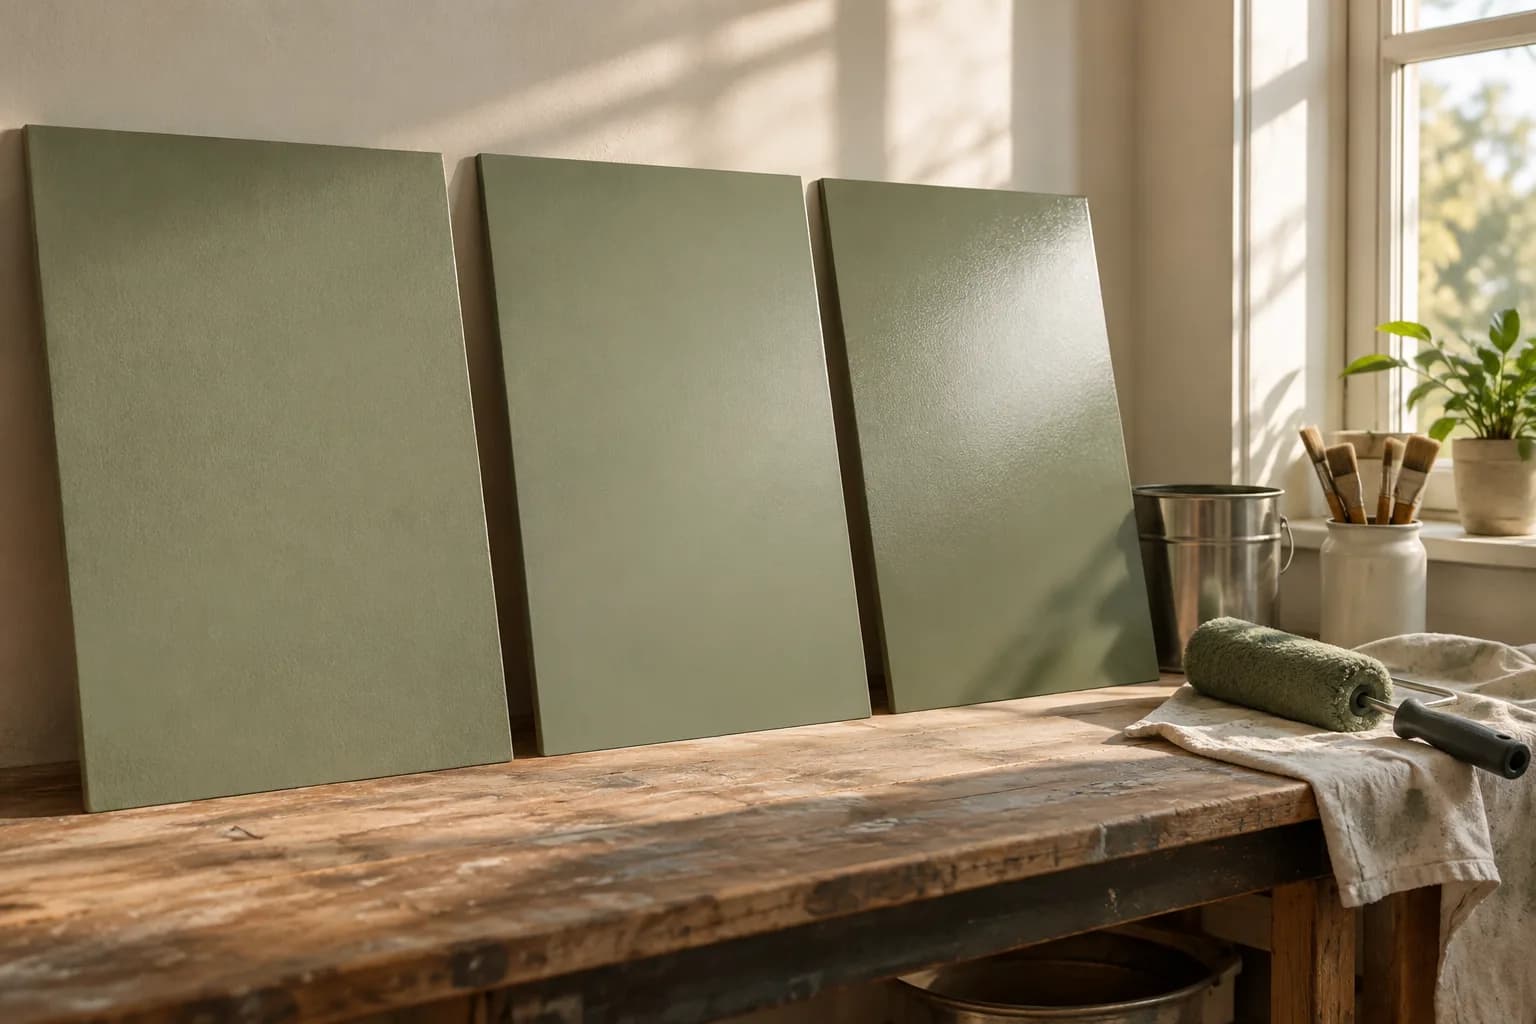
Sheen matters too, because it changes how well a wall stands up to cleaning and how much it shows. As a general rule, more sheen is easier to wipe clean but shows wall imperfections more.
| Finish | Typical use | Trade-off |
|---|---|---|
| Flat / matte | Ceilings, low-traffic bedrooms and living rooms | Hides wall imperfections well; harder to wipe clean without leaving shiny spots |
| Eggshell | Living rooms, dining rooms, bedrooms | A soft sheen that's easier to clean than flat |
| Satin | Kitchens, bathrooms, kids' rooms, hallways | More washable; shows roller marks and wall flaws more than flatter finishes |
| Semi-gloss | Trim, doors, cabinets, some bathrooms | Very washable; highlights surface imperfections, so prep matters more |
| Gloss | Doors, trim, high-use accents | Most wipeable; least forgiving of dents and patches |
A practical rule: the more a wall gets touched, splashed, or scrubbed, the more sheen is worth the trade-off. Ceilings and adult bedrooms are usually the safest place for a flat finish.
In Pittsburgh, sheen choice deserves extra thought in older homes with plaster walls. Decades of patches, settling cracks, and uneven surfaces that look fine in flat paint can jump out under satin or semi-gloss, especially where daylight rakes across the wall. If a high-sheen finish is what the room needs, plan for more surface prep first, or keep the higher sheen on trim and doors and use a flatter finish on the walls.
What the EPA says about VOCs and ventilation
The U.S. Environmental Protection Agency lists paints among the household products that contain organic solvents and release volatile organic compounds (VOCs). The EPA notes that concentrations of many VOCs are consistently higher indoors than outdoors, and that during and for several hours immediately after certain activities, such as paint stripping, levels may reach 1,000 times background outdoor levels.
The EPA's recommendations for reducing exposure include:
- Increase ventilation when using products that emit VOCs
- Meet or exceed any label precautions, and use products according to the manufacturer's directions
- For products you only use occasionally, such as paints, buy only as much as you'll use right away
- Dispose of unwanted containers safely, using a household hazardous waste collection if one is available in your area
In practice, that means opening windows and running exhaust or window fans while painting, following the ventilation and drying instructions on the label, and keeping the room aired out rather than sealing it up the moment the walls feel dry. If someone in the household has breathing sensitivities, or you're painting a small room with little airflow, look up the VOC content on the product's data sheet instead of relying on the marketing wording on the front of the can.
A short buying checklist
- Match the sheen to how the room is actually used, not how it looks on a chip
- Check the product data sheet for solids, recoat times, and VOC content
- Expect an extra coat or a tinted primer for major color changes
- Plan ventilation for during and after painting
- Weigh paint cost against total coats and how long the finish should last
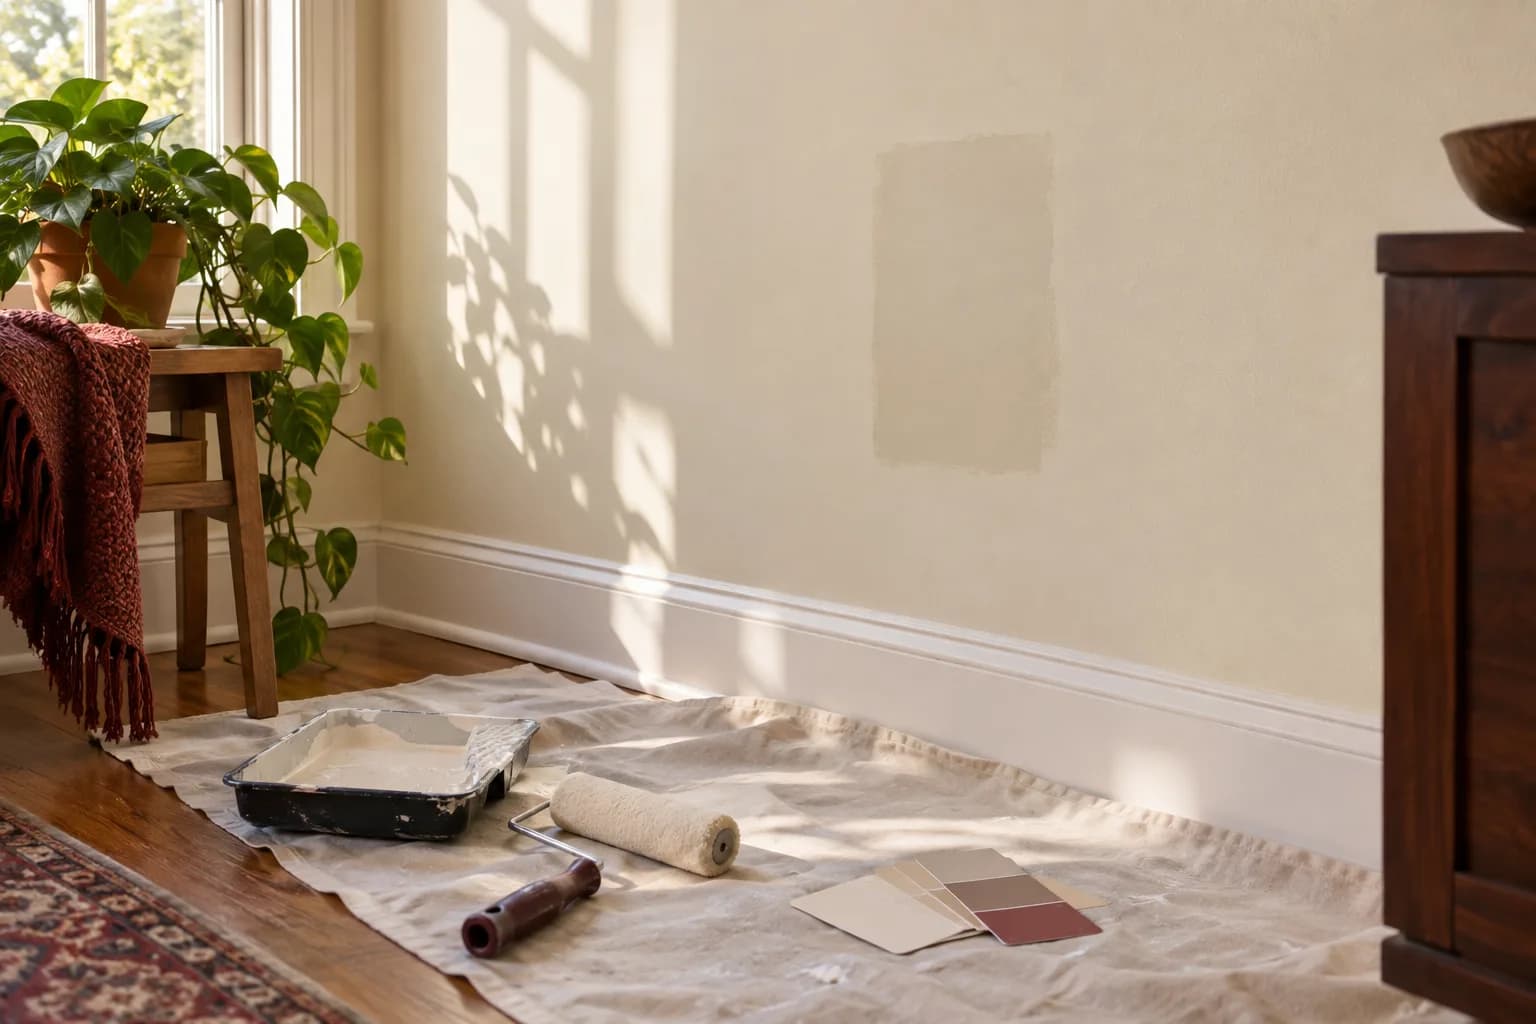
Treat the first sample as a system test
A paint sample is not only a color test. It can reveal how the proposed product behaves over the existing surface and whether the preparation plan is adequate. Identify what is already there: a sound painted wall, a patched area, a glossy finish, a stained section, or an unknown coating. Those conditions can require different preparation or primer choices. Confirm the recommendation with the product's technical instructions rather than assuming the same method works throughout the room.
Apply the sample only after agreeing on the appropriate preparation. Look at it after the stated drying period and under both daylight and the room's normal lamps. Check the transition across repaired areas, not just the center of a perfectly smooth patch. A finish that looks good on an untouched section may emphasize a nearby repair differently. Ask the painter what the sample shows and whether it changes the estimate.
For example, a hypothetical room changing from a dark color to a pale one presents a different coverage question from a refresh in a similar color. A sheen change also changes how you see the wall. Neither example proves that a particular price tier needs a fixed number of coats. Coverage depends on the chosen product, substrate, application, and target appearance.
Estimate materials from the actual room
Measure the surfaces included in the job and separate walls, ceilings, trim, and doors. Then use the chosen paint's stated coverage as a planning input, along with the recommended coating system. Openings, texture, repairs, and the amount retained for later touch-ups can affect the order. Avoid buying from a generic “one room” estimate when the room has an unusual ceiling, many returns, or a large patched area.
Write down which surfaces are excluded. The back of a door, a closet interior, and baseboards can easily be assumed by one person and omitted by another. Confirm whether primer and finish paint are being purchased separately and who approves any additional material if the inspected surface differs from the photos.
Do not use extra coats as a substitute for identifying a stain, unstable coating, or unresolved moisture issue. If the surface is not ready, pause and clarify what has to happen first. This keeps the purchase decision focused on a complete finish system rather than on how many cans can be applied.
Leave useful information for the next touch-up
At completion, save the product name, color formula, sheen, and a note of which surfaces received it. Photograph the label before storing any leftover paint according to the manufacturer's directions. Mark a container with the room and date without covering the original product information.
A future touch-up should begin with that record and a small compatibility check. Age, light exposure, application method, and surface condition may make a spot repair visible even when the color name matches. Keep expectations realistic: sometimes a whole-wall repaint gives the more consistent appearance. Better records help you make that decision without buying several similar-looking products and hoping one blends in.
FAQ
Is more expensive paint always worth it? Not automatically — a higher price doesn't always mean better ingredients, and a low-traffic ceiling may not need a top-tier product. The better comparison is expected coats plus how long the finish will hold up, which matters most in hallways, kids' rooms, kitchens, and on trim.
Do I need a primer if I'm using a "paint and primer in one" product? It depends on the wall. Bare drywall, fresh patches, stains, or a big color change can still call for a separate primer. Check the product's data sheet and instructions for your specific surface.
How long should I ventilate a room after painting? Follow the ventilation and drying guidance on the paint's label. The EPA's general advice is to increase ventilation whenever you use products that emit VOCs, so keeping windows open and fans running for a while after the work is done is a reasonable habit.
Can I use different paints on the ceiling and walls in the same room? Yes, and it's common. Ceilings mostly need to hide imperfections, while walls need to stand up to cleaning, so choosing a different product or sheen for each makes sense.
Get the job done right the first time
If you'd rather not guess at coats, sheens, or prep, request an estimate for your painting project, and we'll talk through the finish and prep plan for each room before work starts. See the full scope on our painting services page.