Look at the gap before reaching for a screwdriver
A cabinet door that rubs its neighbor may need a small hinge adjustment. It may also have loose attachment screws, damaged mounting material, an obstruction inside the cabinet or a door that is no longer flat. Start by observing how it sits and moves so the repair addresses the actual cause.
Open and close the door gently. Note where it touches, whether it hangs low on one side and whether it sits flush when closed. If the door is loose enough to fall or the cabinet itself is moving away from the wall, stop using it and arrange an assessment. That condition goes beyond ordinary alignment.
Map the symptom in plain language
Photograph the full cabinet with its doors closed. Then take a close-up of the uneven gap and an image of each hinge with the door safely open. Include the top and bottom edges so the pattern can be understood.
Useful descriptions include "the right door catches the left at the top," "the lower corner sits farther out," and "the hinge plate moves when the door opens." Each points to a different inspection path. A description such as "the kitchen needs new hinges" jumps to a solution before the parts are examined.
Remove any object preventing closure. Check whether a shelf, container or internal organizer is contacting the door or hinge. A door that now closes properly may need a storage adjustment rather than hardware work.
Identify the hinge and cabinet construction
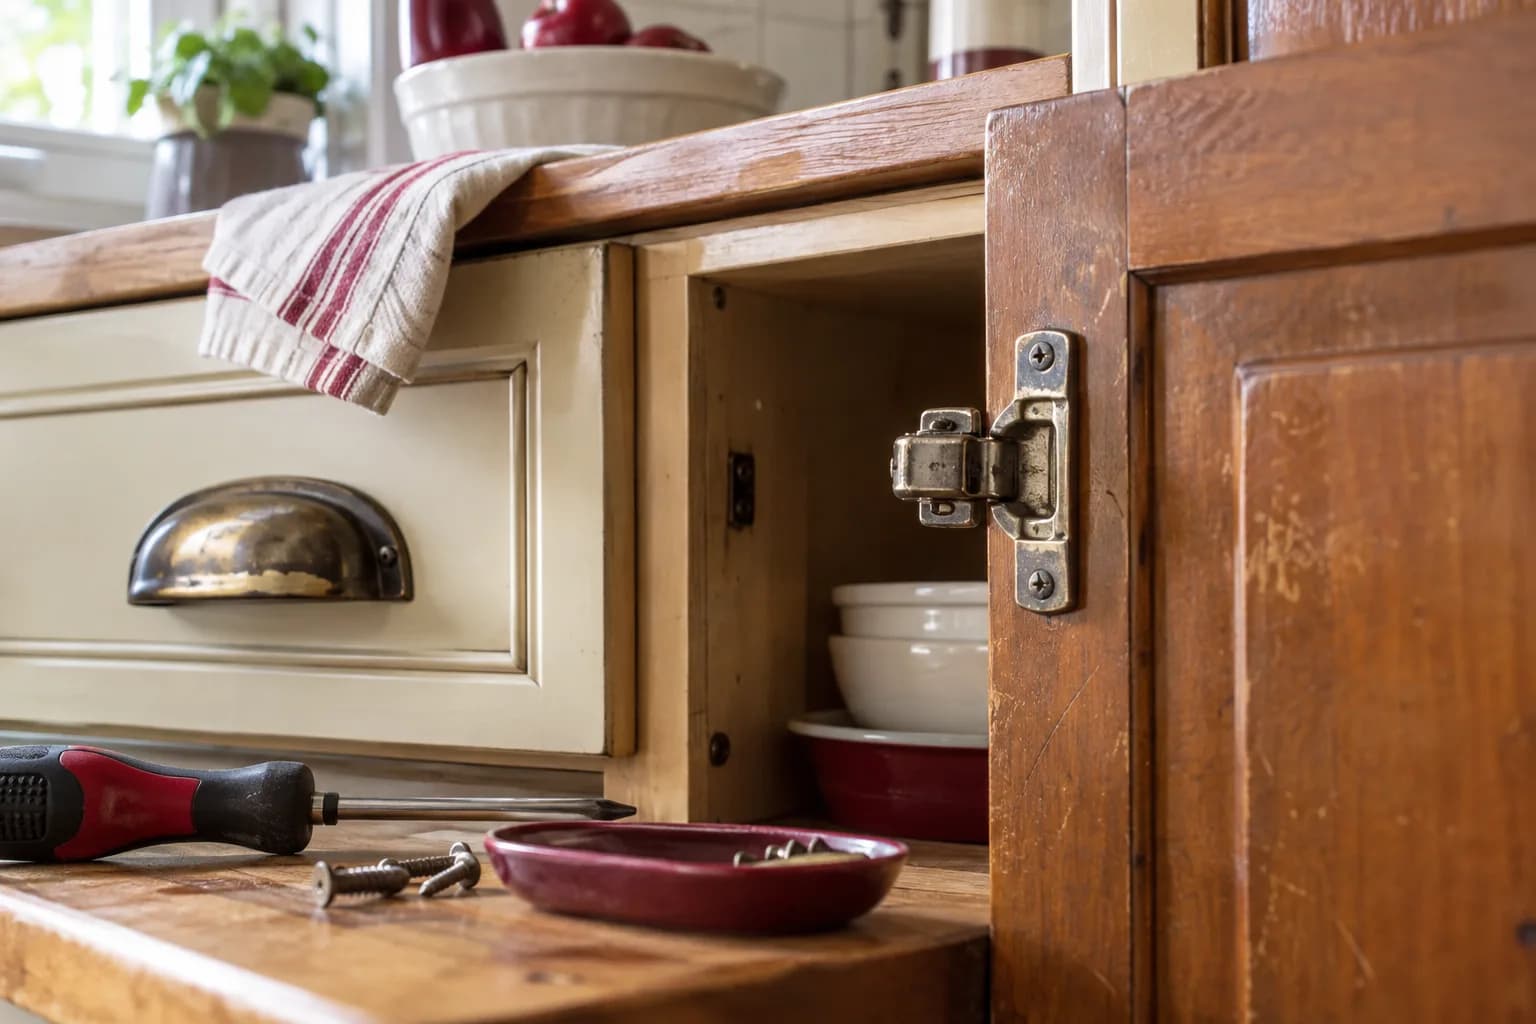
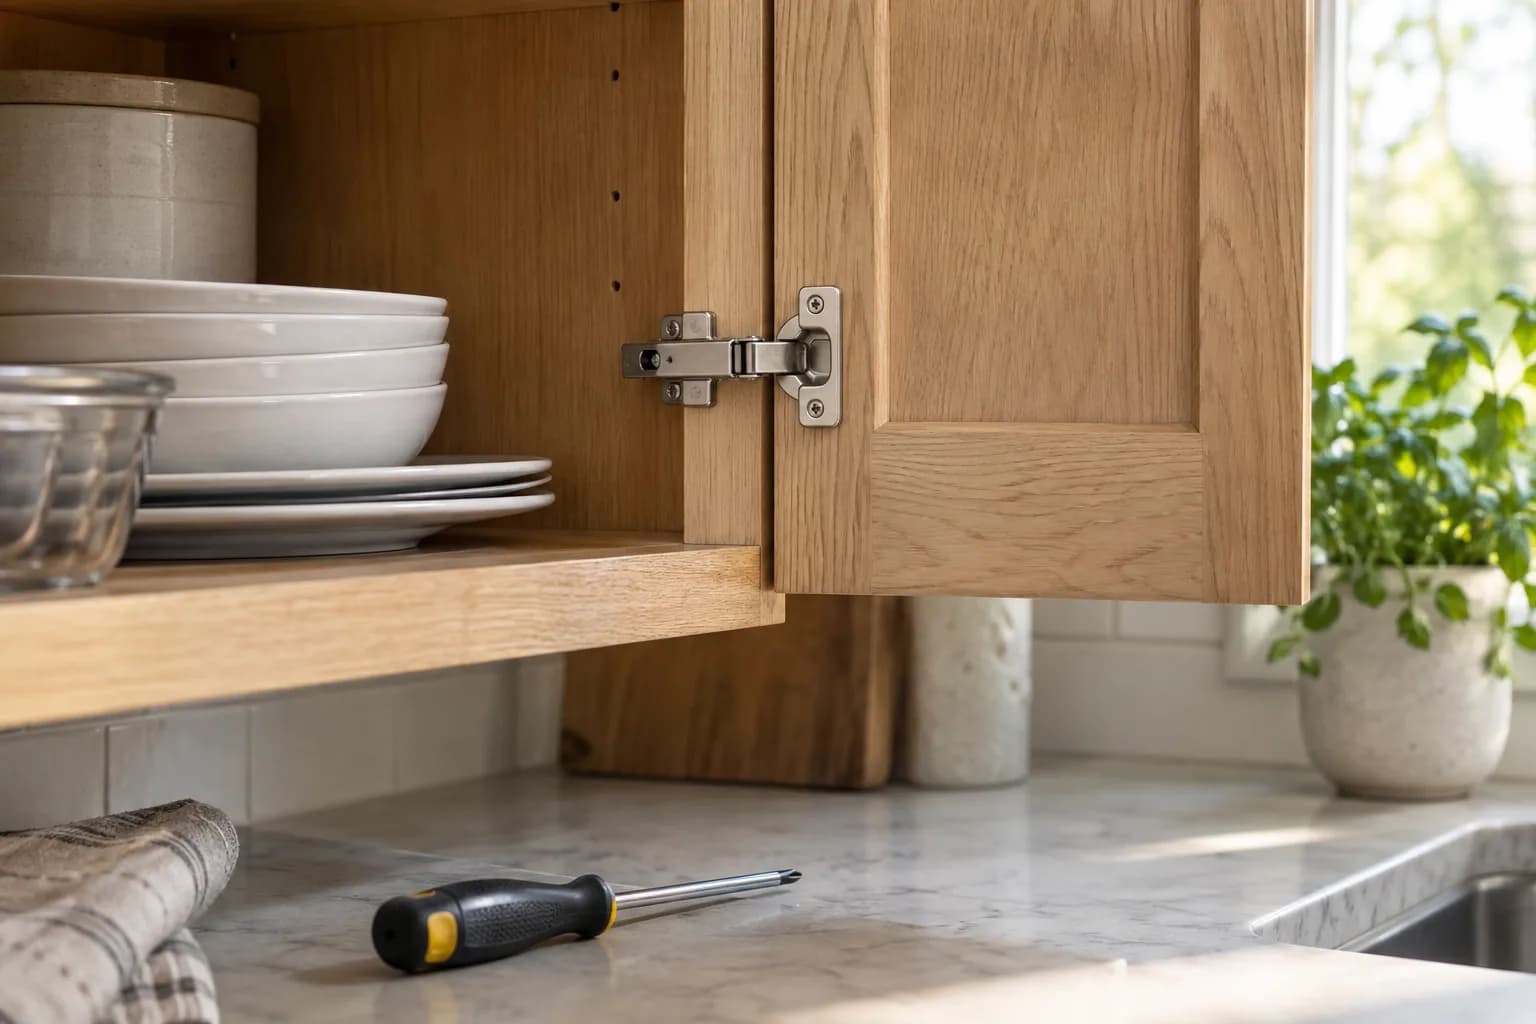
Concealed cup hinges, surface-mounted hinges and traditional exposed hinges do not share one adjustment method. Even within concealed hardware, the hinge arm and mounting plate can differ. Look for a manufacturer mark and product number where visible without dismantling the system.
Blum's hinge instruction library directs users to match the kit or product identification with the corresponding instructions. Use that same identification discipline for any manufacturer. The screw position in a photograph of another hinge does not establish its function on yours.
Also note whether the cabinet has a face frame or a frameless opening and whether the door overlaps the cabinet edge or sits within it. Those details matter when identifying replacements. Avoid removing an unidentified hinge just to bring it to a store if doing so leaves the door unsupported.
Separate movement adjustments from attachment screws
On an adjustable hinge, some screws control position while others hold the hinge to the door or cabinet. Turning the wrong screw can release the connection instead of changing alignment. Find the diagram for the exact hardware before touching it.
For example, Blum's CLIP top BLUMOTION 107-degree guide describes three-dimensional adjustment and a clip-on assembly system for that product. Those features should not be assumed on every cabinet hinge, including older hinges from the same brand.
If an attachment appears loose, assess the material around it before tightening. A screw that turns without holding, a lifting mounting plate or crumbling panel material calls for a repair decision. Repeated tightening can make it harder to understand or restore a damaged connection.
Use a controlled adjustment process
For a sound, identified adjustable hinge, photograph the original positions and follow the manufacturer's sequence. Use the specified tool and work within the stated adjustment range. Change one setting at a time, then close the door gently and inspect the result.
Check the entire door after each change. Improving the upper gap may create contact at the lower edge or change how the door sits against the cabinet. On a pair of doors, view them together and check both through their normal opening range.
Do not remove several screws at once to make the door easier to reposition. If the documented adjustment requires supporting the door, arrange that support first. A tall or glass-fronted door can be awkward even when it looks light from the outside.
Stop when an adjustment reaches its intended limit without correcting the problem. An unresolved gap may need a different diagnosis, not more force on the adjustment mechanism.
Understand what soft-close can and cannot fix
A soft-close function controls the final movement of a compatible door. It does not correct a door scraping on its neighbor or compensate for a loose hinge plate. Check alignment and obstructions before interpreting an unusual closing motion as a failed damper.
Some products have a documented way to enable, disable or tune damping. Others do not. Read the model's instructions before changing a switch, adding an aftermarket damper or replacing only one hinge in a set.
In a hypothetical two-door cabinet, one door may stop because it touches a container inside while the other closes normally. Another cabinet may have clear space inside but visible damage around the top hinge screws. Both can seem like "soft-close stopped working," yet the appropriate next action is different.
Keep care gentle and product-specific
Check the hardware maker's cleaning instructions and the cabinet finish instructions together. Clean accessible surrounding surfaces with an approved method and keep excess moisture or cleaner from collecting around the hardware. Avoid abrasive scrubbing that can damage a decorative finish.
Do not apply a general-purpose spray to an unidentified hinge as a routine first step. Ask whether the particular product requires lubrication at all and, if it does, which product and location are specified. A squeak should prompt identification of its source, not indiscriminate spraying across a cabinet interior.
If you see corrosion or repeated moisture exposure, record where it occurs and discuss the cause. Replacing a hinge without addressing an ongoing environmental problem may leave the same maintenance issue in place. Plumbing or water-intrusion repairs need their own qualified assessment.
Recognize a damaged attachment point
Inspect the hinge cup area in the door and the mounting plate area in the cabinet. Cracks, swollen material, enlarged holes and previous improvised repairs can change what is feasible. A new hinge of the same shape is not a complete repair if its screws have nothing sound to hold.
Avoid automatically using longer screws, adhesive-filled holes or generic repair plates. The appropriate repair depends on the substrate, available thickness, hinge design and load. Our repair-or-replace guide provides a framework for weighing a repair against the condition of the surrounding item.
If a cabinet is separating from its support, a door is unusually heavy, or the repair would require rebuilding the case, get the scope assessed before treating it as a minor adjustment. This guide covers observation and ordinary hardware decisions, not structural cabinet installation.
Match a replacement as a system
Bring together the brand, hinge number, plate number if present, door thickness, cabinet construction and photos. Include the opening angle and how far the door overlaps the cabinet. Confirm whether the proposed part works with the existing plate and whether additional components are required.
Check all affected doors before ordering a batch. A corner cabinet or an inset door may use different hardware from the straight row beside it. Similar finishes and cup sizes do not prove that two hinges are interchangeable.
Retain the original parts until compatibility and fit are confirmed. If several replacements are needed, agree which doors are included and what alignment standard is realistic for the existing cabinetry.
Verify normal use before calling it finished
Open each affected door, close it gently and inspect the surrounding gaps. Confirm it clears neighboring doors, handles and drawers, stays attached correctly and closes without being lifted by hand. Check the result with the normal contents returned to the cabinet.
For related symptoms elsewhere, see our sticking-door guide. For cabinet hardware help, review small home repairs or request an estimate with the hinge photos and a plain description of where the door rubs. Confirm parts and repair limits before purchasing replacements.