Check the frame before buying replacement mesh
A torn insect screen does not always need a complete new frame. If the frame is straight, its corners are sound and its attachment hardware works, replacing the mesh may be a reasonable option for a serviceable screen design. A bent frame, broken corner or proprietary assembly can change that decision.
Start by identifying which part failed: the mesh, the material holding it in the frame, the frame itself or the hardware securing it to the window. Then check the manufacturer's repair instructions. A generic rescreening kit is not suitable for every window screen.
Keep the screen's purpose clear
An insect screen provides ventilation while limiting insect entry. It is not a fall-prevention barrier. Andersen's safety guidance explicitly warns against relying on insect screens to keep children from falling through open windows.
That distinction still applies to thicker or pet-resistant mesh. Do not lean against a screen, test it with body weight or treat a repaired panel as child protection. Keep children and pets away from an open window while the screen is removed, and do not obstruct an emergency escape route with the repair arrangement.
If access requires leaning outside, standing on furniture or working at height, stop and arrange suitable professional access. A small hole does not make an awkward exterior location a small-risk task.
Make an inventory while screens are still installed
Label each screen by its room and window position before removing it according to the manufacturer's instructions. Similar-looking windows can have different screen dimensions or attachment hardware. Photograph the installed orientation, release tabs and any identification label.
Inspect the perimeter as well as the obvious hole. Look for gaps between the screen and window, loose retaining material, cracked corners, missing tabs and damage where clips or springs engage. Note whether the screen sits correctly without forcing it.
For several screens, create a simple list: location, visible damage, frame condition and identification. This makes an estimate more useful than a single photograph of a pile of nearly identical panels.
When a patch is worth considering
A small isolated tear in otherwise sound mesh may be a candidate for a compatible patch product if its instructions suit the material and location. Decide whether the patch's appearance is acceptable from inside and outside. It is likely to remain visible.
Inspect the surrounding mesh first. If the material is brittle, separating from the frame or damaged in several places, a patch addresses only one part of the problem. Patching a hole does not correct a gap caused by a bent frame or a missing latch.
Treat the patch as its own repair with a completion check. Confirm it adheres or attaches as intended and leaves no open edge. Do not describe it as a permanent solution merely because the opening disappears on the first day.
When replacing the mesh makes sense
Rescreening is worth assessing when the frame and retention system are sound, the screen fits its window, and the manufacturer supports replacing the mesh. Confirm how the existing material is held before pulling anything out.
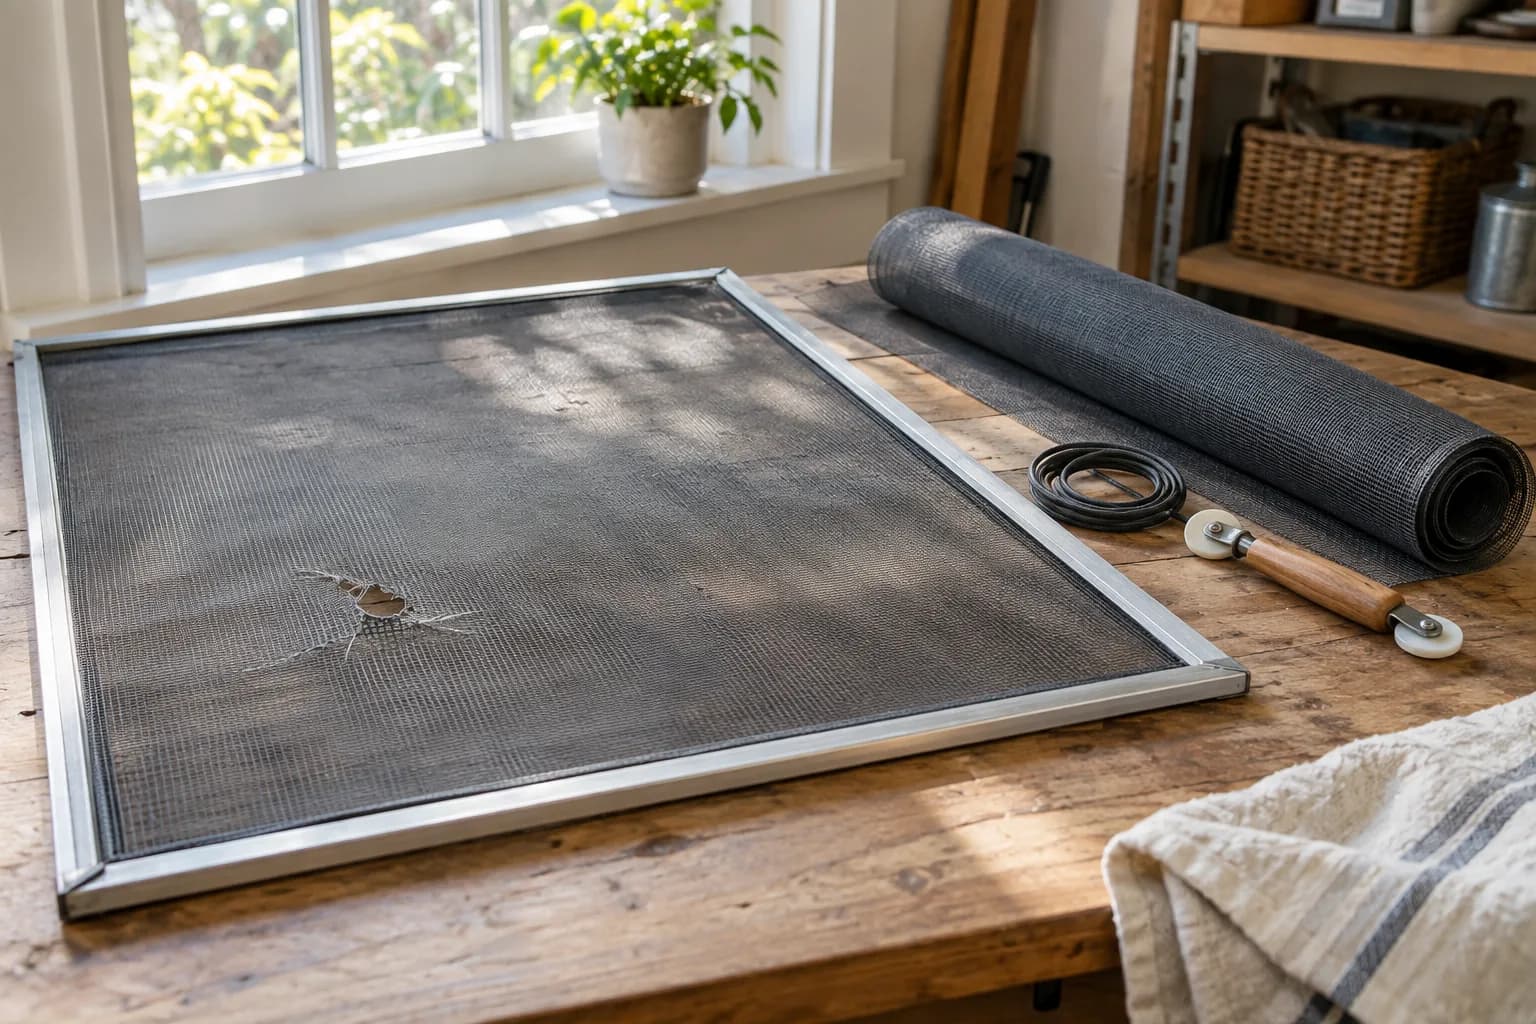
Phifer's installation guidance describes a common removable-spline screen arrangement, using a flat work surface and a spline roller to secure replacement mesh. That is an example of a repairable design, not proof that a rigid, proprietary or retractable screen can be serviced the same way.
Inspect the frame after safe removal and before buying materials. If it will not lie correctly, has damaged corners or no longer fits the opening, fresh mesh alone may leave the original problem unresolved. Ask the screen or window manufacturer about compatible parts and approved repair options.
Match the mesh and retaining material together
Mesh is not the only purchasing decision. On a spline-retained screen, the spline must suit both the frame groove and chosen mesh. Phifer's spline-sizing guidance identifies product-specific differences, including changes for thicker screening materials.
Keep a sample of the old spline if removal is approved, but do not assume it remains the correct size after changing mesh type. Use the selected product's sizing guidance and confirm compatibility with the frame. A too-large or poorly matched material may be difficult to install correctly; forcing it is not a fit check.
Also compare visibility, color and the intended purpose of the replacement mesh. Repairing one window with a visibly different material may be acceptable, but decide that before ordering enough for a whole room. Product claims about insect resistance or durability should come from the selected manufacturer's documentation.
When a complete replacement is more practical
Consider replacing the assembly when the frame is substantially distorted, corners will not remain sound, critical hardware is unavailable or the manufacturer treats the mesh as non-serviceable. A missing screen also requires identifying the correct assembly rather than measuring only the visible window glass.
Gather the window brand, series and identification label if available. Ask the supplier which measurements it needs. Some products are ordered by a window designation; others use exact frame dimensions. Width and height alone may omit frame thickness, offsets or attachment details.
In a hypothetical pair of bedroom windows, one screen may need only mesh while the second has a broken spring attachment and bent frame. Quoting both as identical rescreening jobs misses the part that determines whether the second panel will stay correctly seated.
Clean sound screens without distorting them
A dusty screen may need cleaning rather than replacement. Follow its manufacturer's method and support the frame while handling it. Avoid pressure or scrubbing that stretches the mesh or damages its finish.
Andersen's cleaning guidance calls for mild soapy water, a soft-bristle brush, rinsing and drying the frame. Apply that guidance to the covered products and check instructions for other screen materials before choosing cleaners.
Cleaning also gives you a better view of the damage. Reassess the corners, perimeter and attachment hardware once dirt is removed. A dark line that looked like a tear may be debris, while a loose edge hidden by dust may become obvious.
Agree on the scope and access
For a repair request, include the number of screens, their locations and photos showing both damage and attachment points. State whether the screens can be removed safely from inside and whether any are above an awkward exterior area.
Clarify whether the proposed work includes removal, material selection, repair, reinstallation and final fit checks. Do not assume glass, sash mechanisms, weather sealing or the window frame itself are included in insect-screen work. Those can require a different assessment and provider.
Our repair-or-replace guide offers a broader way to compare parts availability and surrounding condition. You can also add screen inspections to the routine in our Pittsburgh seasonal maintenance guide.
Check the installed result
After repair or replacement, confirm the screen is in the correct window and orientation. It should fit according to its instructions, with functioning retention hardware, no unintended perimeter gaps and mesh that has not pulled the frame out of shape.
Operate the window normally where safe to do so and verify that handles, locks and the screen do not interfere. Keep identifying information for future parts orders. Do not use tape or makeshift fasteners to hide a failed fit.
For help assessing a manageable screen repair, see small home repairs or request an estimate with the inventory and photos. Confirm the screen type, access and repair scope before purchasing replacement materials.